

Microsoft has learned a few things in the last couple of years and one of those is that it was always a pain to view file extensions and hidden files in previous versions of Windows.
You had to go to Folder and search options and check off a few boxes there. Then when you were finished, you had to go back and do it again.
Luckily, in Windows 10, Microsoft has made it really easy to show file extensions and to show hidden files. Here’s how.
Show File Extensions in Windows 10 Explorer
Open Explorer in Windows 10 and navigate to the folder where you want to see the file extensions or hidden files.

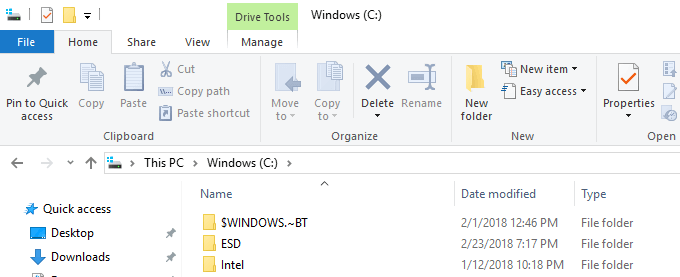
By default, you’ll see the Home tab where you can perform common tasks on files and folders like copy, paste, move, delete, rename, new folder, etc. Go ahead and click on the View tab.


On the right hand side of the View ribbon, you’ll see the Show/Hide panel. Here you can simply check the File name extensions box to show file extensions.


You can also just select a file or multiple files and click on the Hide selected items button to hide files and folders in Windows 10. To see hidden items, just check the Hidden items box and you’ll see the hidden items.
Note that showing hidden items via Explorer will not display hidden operating system files. If you want to see all hidden files including protected system files, you have to click on the Options button and click on Change folder and search options.


Then click on the View tab and scroll down to the Hide protected operating system files and uncheck the box. You’ll get a warning pop up saying it could be unsafe to unhide protected system files.


That’s about it! Windows 10 makes it a little easier to access these features that a lot of people use fairly often. Enjoy!