

A lot of people enjoy using Twitter, but like any
social media network, there are drawbacks to using it. One is the lack of
control over your data and privacy, while another is that you will lose
everything if Twitter suddenly goes belly-up one day.
That’s why, if you want to build an online community,
you might want to consider building it yourself on a website domain that you
own. Getting people to regularly visit your site community will be hard as
Twitter already has a built-in audience, but with a bit of determination, you
might be able to build something to call your own.


Start Tweeting With P2
There is a WordPress theme called P2, which was developed by the same developer team that created WordPress itself. They use P2 to discuss things amongst themselves, the same way that another office might use Slack or Skype.

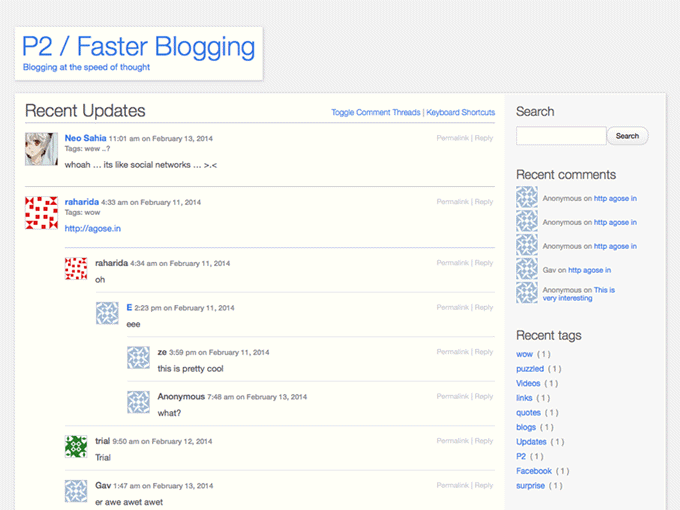
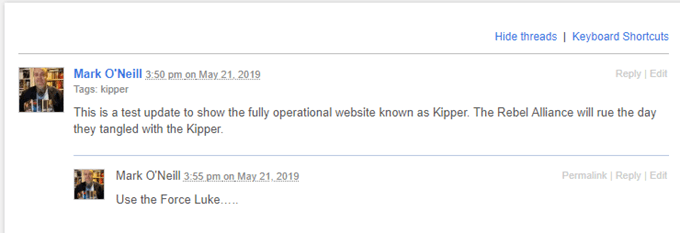
P2 closely resembles Twitter in that you can post
status updates and people can reply to those status updates. But unlike
Twitter, you can’t make your own profile page, and your avatar is determined by
your Gravatar profile. So P2 is not exactly customizable if you don’t have
administrator access to the website settings.
But for basic chatting and basic community building,
it works just fine.
Install The Theme


The theme itself has been abandoned, in terms of updates, because there is a new version. But the new version looks nothing like Twitter so I don’t use it. If you want to use it, the direct download link to the theme is here.
There are some of you who will not install the
original P2 for that reason, because of the security implications of having a
theme which is not being actively maintained. But I like the Twitter-like
interface so I am willing to take a chance on the older version. It’s up to you
to decide whether or not you want to risk it.
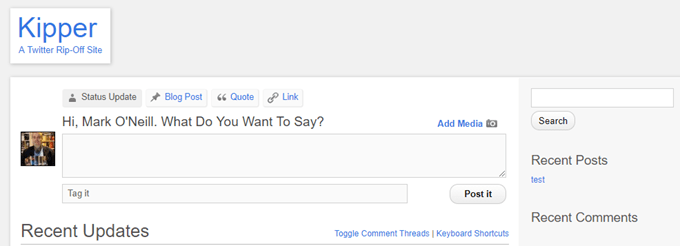
Assuming you do, go here and download the theme. Now upload it to your domain and activate it. I have made a test Twitter-like page called Kipper to test-run the various features.


Tweak
The Settings
There are not a lot of features to “tweak” but let’s
look at them regardless.

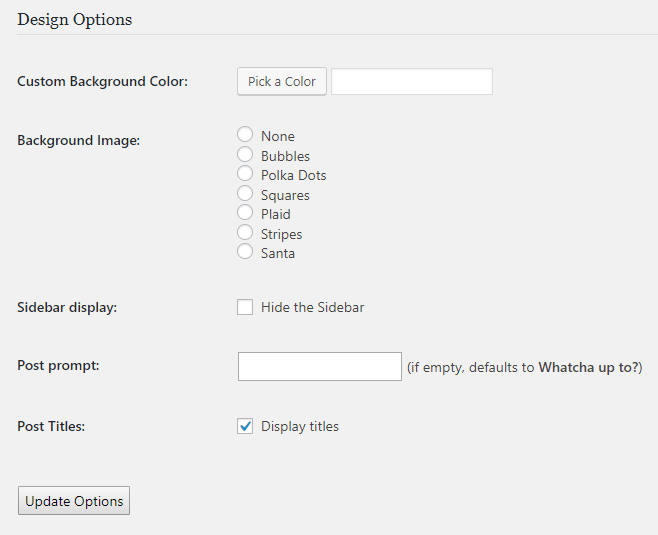
First, the background color. I would be careful about
getting too crazy about this because many people get turned off by websites
that don’t have a white background. I know I do. Maybe you could get away with
grey but I would go any wilder than that.
Or you can choose a background image. But unless you
are creating a teenage Justin Bieber community, I’m not sure if polka dots or
Santa is going to project the right “image”.
My advice would be to play it safe and keep everything
white.
You can optionally hide the sidebar if you want,
making the whole Twitter-like structure full-width. You would lose out on some
nifty WordPress widgets if you did that but again, it depends on what you want
out of the page.
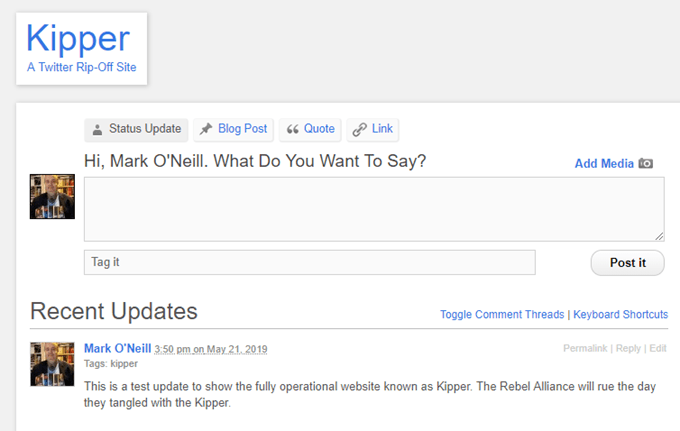
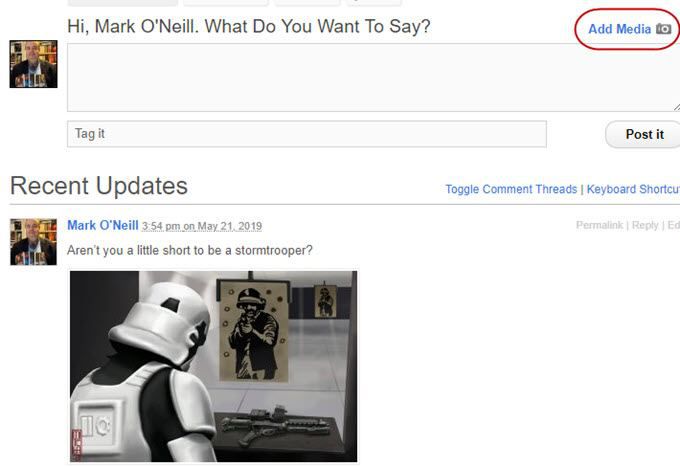
I would change the Post prompt. “Whatcha up to?” sounds absolutely hideous. Twitter’s one is “What’s Happening?” so maybe something along those lines. I changed mine to “What Do You Want To Say?”
And I would suggest switching off post titles,
otherwise it starts to look like blog posts and not Twitter updates you’re
posting. But that’s a personal taste choice.

One last tweak is to go into the WordPress settings and change the permalink structure so when someone clicks on the permalink to a status update, it is as short as possible. I would suggest using Post name.


Allowing
People To Register
One of the things which is really going to make
security-conscious people pause is that you need to allow people to register
accounts on your WordPress website to be able to use P2. But as long as they
have the proper “role” on WordPress, the rest of your site will be fine. Nobody
with “Contributor” status will be able to change themes, plugins, and the like.
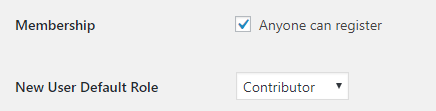
In the left-hand sidebar of WordPress, go to Settings – General and tick the box Anyone can register. Also make sure the Default Role is Contributor.

Now go to the P2 settings and tick the box for “Allow any registered member to post”. Without doing these steps, nobody will be able to post anything to your network.
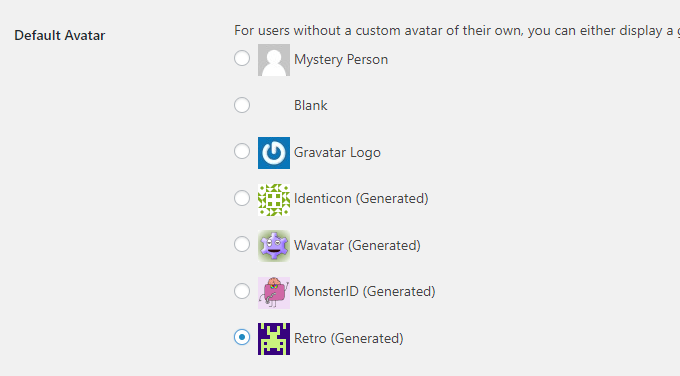
If people have a Gravatar account – and they use that account to register to your site – the image associated with the Gravatar account will be the avatar on your site. If they are unwilling to set up a Gravatar account, you can set a default avatar logo by going to Settings – Discussion.

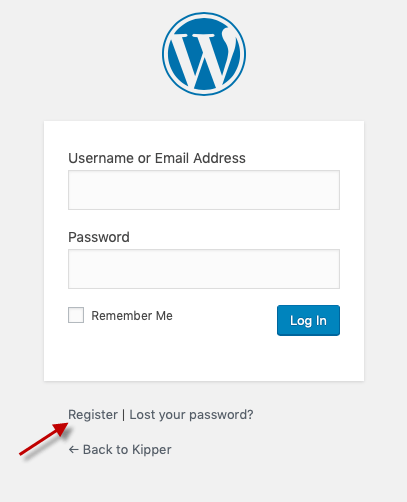
Now when someone wants to register, they simply go to the login page of your WordPress website and click Register.

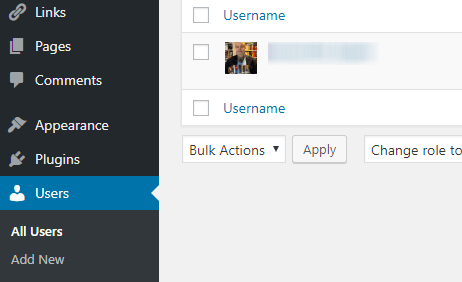
You can see who has registered by going to “Users” in the left-hand sidebar of WordPress. You can also use this area to manually register people yourself.

Adding
Status Updates
Once someone has registered on your site, they just
have to go to the P2 page and a box will be at the top of the screen, just like
Twitter. Then they simply have to type what they want and save it.

Other registered users can then reply.

You can also add images by clicking the “Add Media” button.

Editing
& Removing Status Updates
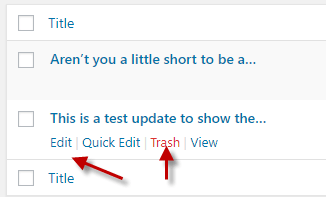
On Twitter, there is the option to delete your Tweet directly from the page. But on the P2 theme, to delete or edit your status update, the person who wrote it (or anyone with administrator privileges) must do so from the “Posts” section of WordPress.

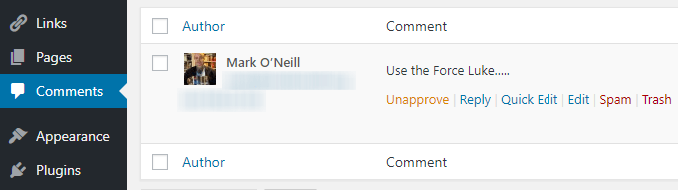
If the status update is a reply in a thread, then they
are stored in the Comments section.

Making
Your Community Private
Finally, you may
not want to make your website publicly accessible on a search engine if you are
discussing anything private.
To prevent that from happening, open a FTP program and open up your domain files. Now open up the Robots.txt file. Inside, you may already see a section called “User-Agent”.
Underneath
“User-Agent”, type :
Disallow /NAME OF YOUR P2 SITE
So in my case, I
typed :
Disallow /kipper
What this does is
stops the Google search spiders from indexing the Kipper pages, the next time
they come to visit.