

If you are about to update a driver on your computer or install a new program, it’s probably a good idea to create a System Restore point just in case something goes wrong. It’s a great way to backup your registry and ensure that you can return to a normal operating state if it becomes corrupt.
It’s worth noting that a system restore point does not backup any of your data, it only backs up system files and the Windows registry. You should read my post on cloning or creating an image of your PC for backup purposes.
Of course, if you already have a backup system in place, then you could actually increase your computer’s performance by turning off System Restore.
If not, then read on to learn how to easily create a new restore point manually. If you wan to create a system restore point in Windows Vista, 7, 8 or 10, read my other post on managing system restore.
Create System Restore Point in XP
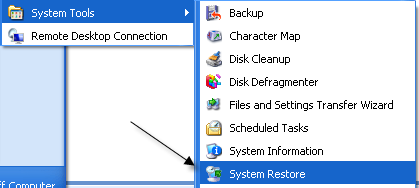
Step 1: Click on Start, All Programs, Accessories, System Tools, and click on System Restore.

Step 2: Click on the Create a restore point radio button and then click Next.


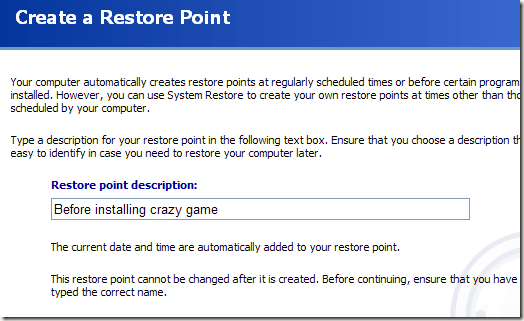
Step 3: Now give your restore point a good description so that you know exactly what you installed afterwards, i.e. “Before installing driver”, etc.

Step 4: Now click the Create button and your restore point will be created. Now if you ever need to revert your computer back to a previous state, just run the System Restore tool again and choose “Restore my computer to an earlier time”.
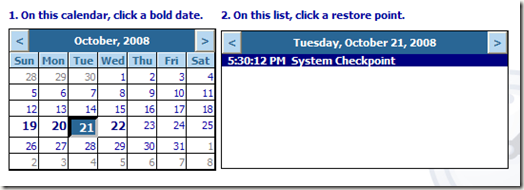
Any dates in bold mean there are restore points stored for those days. You can click on the date, choose the restore point and then click Next to restore your computer.

That’s it! You’ve just created a restore point in Windows XP. In newer versions of Windows like Vista, 7, 8, and 10, the operating system automatically creates restore points whenever certain changes are made, i.e. updating a driver, etc.
Note that backing up the registry and the system state is great, but you should also manually backup all of your Windows drivers. Enjoy!