Did you know that you can customize the toolbar in Preview to keep the buttons for common tasks close at hand? With this tip, you can make sure the toolbar in the Preview app meets your needs by dragging frequently used items into it.
Customize Preview toolbar on Mac
The Preview app on your Mac is a versatile app that can replace many of the tasks of other apps. By default it contains a number of buttons, which you can customize so that your favorite buttons are easy to find.
- Customize
- Keep it organized
- Back to default
Preview: customize toolbar
You can use the Preview app on your Mac to open a variety of files, including photos, PDFs, and other text files. You can also edit these files with Preview. The following tip can certainly come in handy: you can expand the standard parts in the toolbar with extra options that can be useful for your use. You can also remove items from the toolbar that you don't use.
You can easily customize the toolbar in Preview on your Mac by following these steps:
- Open a file at your Mac with the Preview app.
- Then click with your right mouse button anywhere in the toolbar to activate the options menu.
- Now choose Customize toolbar.
- You can also click directly on View > Customize toolbar.

You now get a comprehensive overview of all possible buttons that you can drag into the button bar. If you work a lot with photos, the options ‘Slideshow’, ‘Actual size’ and ‘Info’ be very handy. For documents you could add a ‘Print’ button, or an option where you can easily read the page numbering.

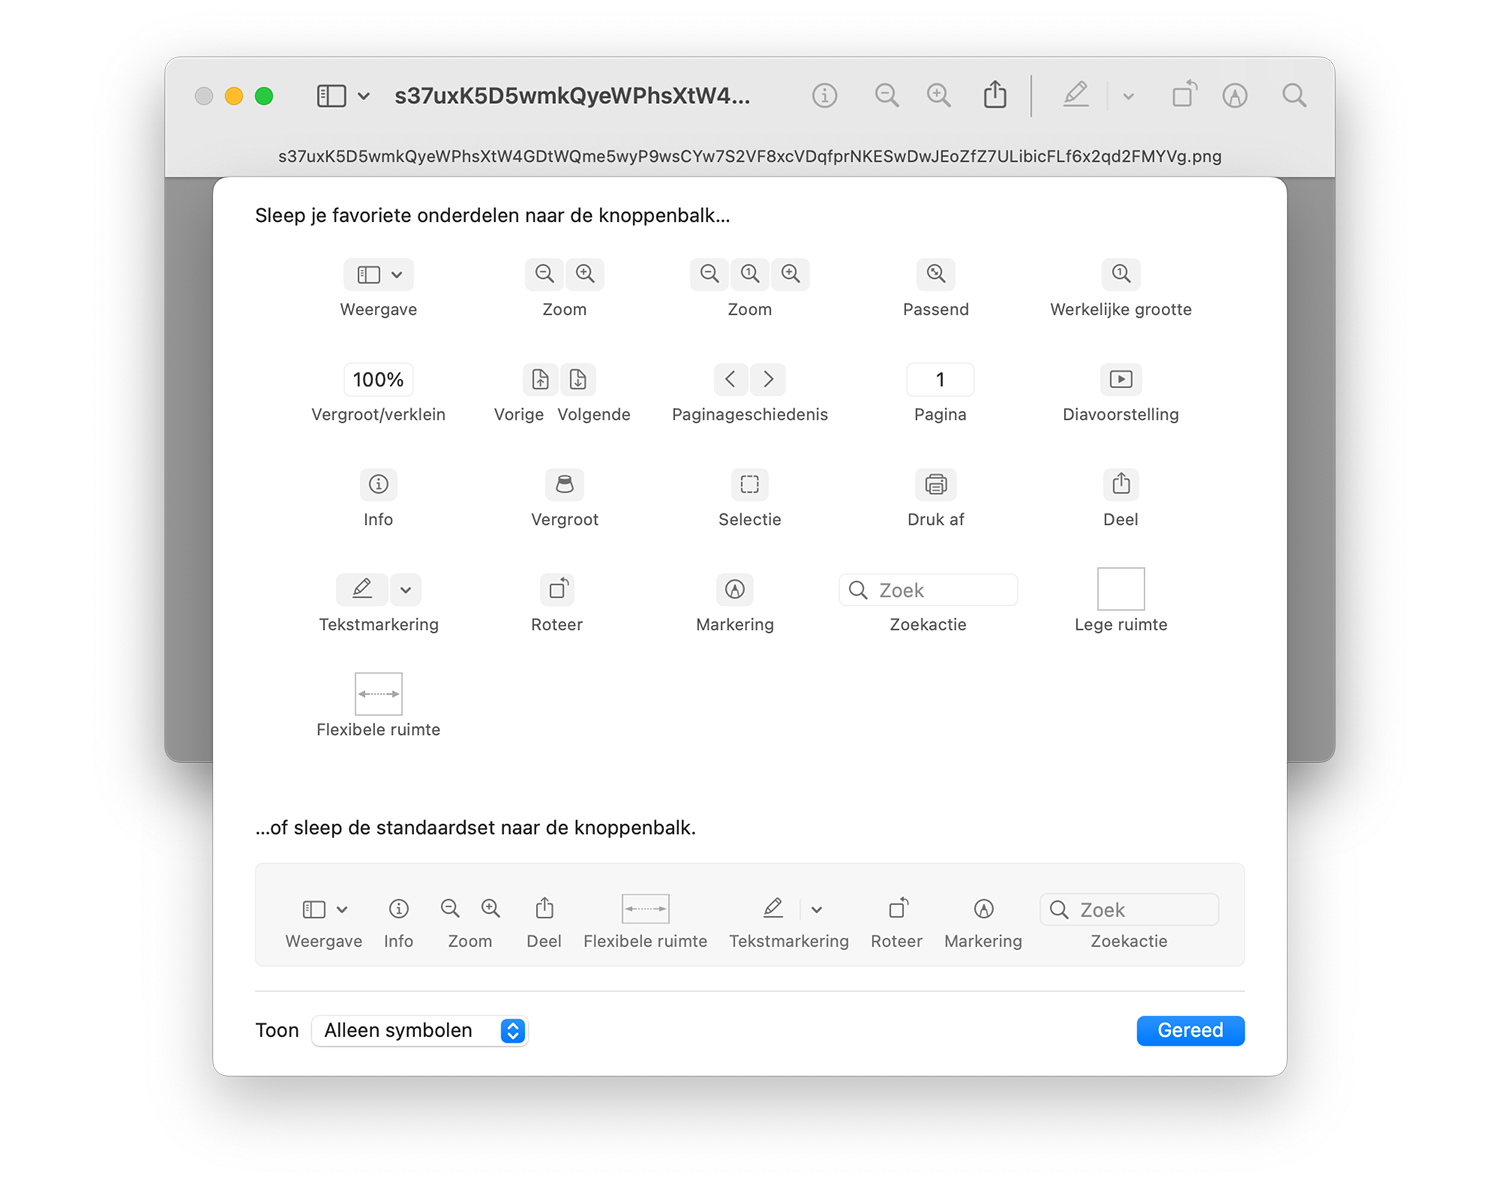
You can easily drag the buttons into your toolbar. In the same way, you can also remove buttons that you hardly use. Drag it from the toolbar anywhere in the menu and when you release the mouse button it will disappear.
Keep Preview toolbar clutter-free
If you have added many different buttons, you can also divide them over the bar with the Empty space and Flexible space buttons. These ensure that you can add empty spaces to make the toolbar clearer. The difference between the two is that the Empty space button is exactly the same size as the other standard buttons. With Flexible space you add empty space that depends on what still fits between the buttons. The Flexible room adjusts automatically.
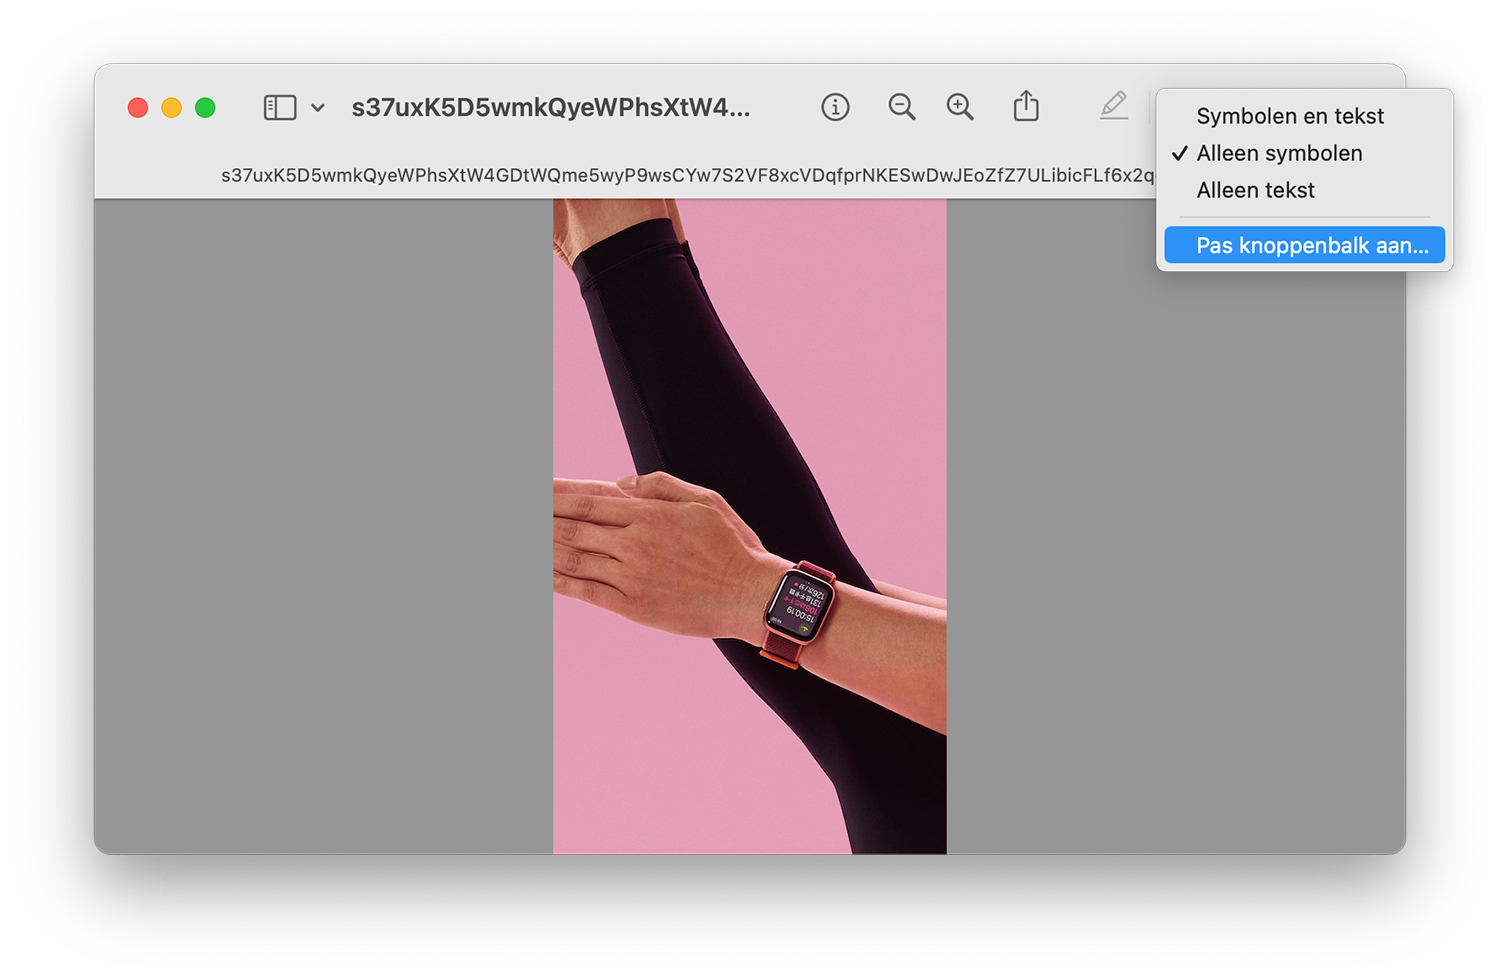
You can also set the button bar so that only symbols or text is visible. If you are not sure what a button is for, it can help to enable the text. You do this as follows:
- Open a file in Preview and right-click on the toolbar at the top.
- Choose Customize toolbar. You can also click View > Adjust toolbar.
- At the bottom of ‘Show’ choose Text Only, Symbols and Text, or Symbols Only.
If you choose Text Only, keep in mind that the buttons are somewhat smaller. However, this gives you more space for the file, as the top bar is much narrower.

Preview toolbar back to default
Would you like to return to the default after a few adjustments? setting, then you can easily drag it in its entirety via the same menu.
- Open a file in Preview and right-click on the toolbar at the top.
- Choose Customize toolbar. You can also click View > Customize toolbar.
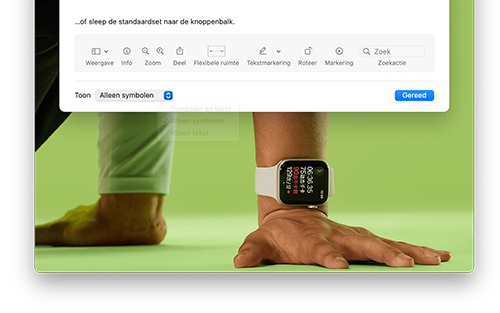
- Drag the entire default toolbar at the bottom up in its entirety. All your previously configured buttons are now overridden by Apple's default setting.
Any more tips about Preview? Then check out these articles:
- Use Preview to extract images from a Mac app
- Combine multiple PDFs with the Preview app on Mac
< /ul>