You can share your contact information with others from your address book. In addition to name and home address, it can also contain all kinds of other private information that you may not want to share. You can do this smarter by only sharing limited contact details.
Sharing limited contact information
Business cards are a thing of the past and exchanging telephone numbers is becoming less and less common. Now when you meet someone you are more likely to exchange your Instagram name. However, it can still be useful for business contacts to exchange a digital card with contact details. If you do not want to share all the information (such as birthdays, wedding anniversaries and names of father, mother and other relatives), you can limit your contact information in several ways.
- Create a second contact card
- Create Private Card
- Check your limited contact card
Option 1: Create second contact card
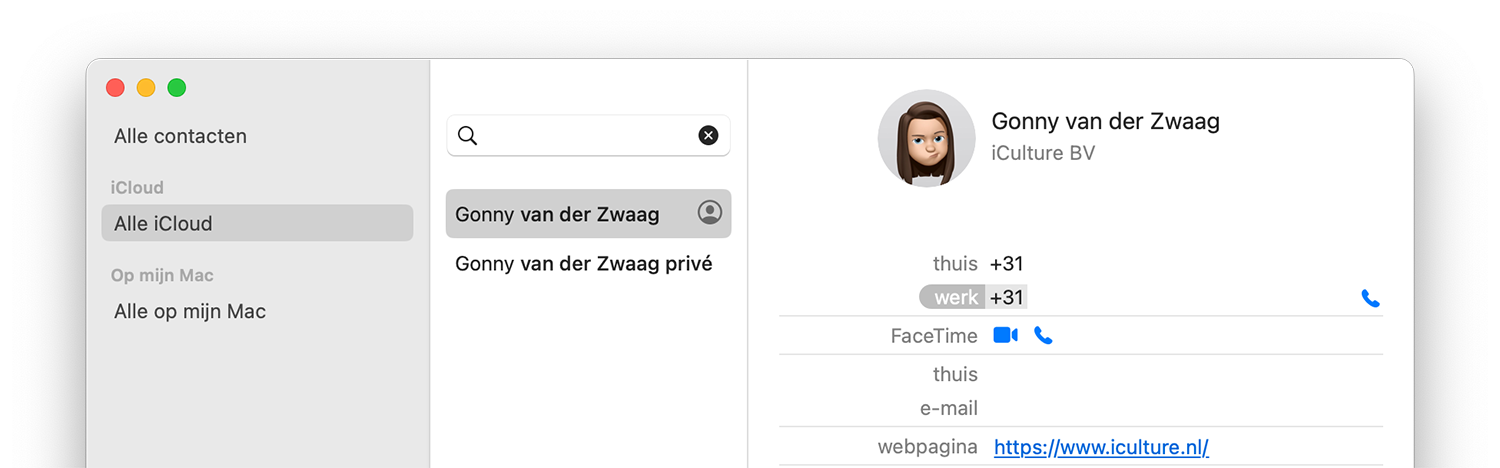
One of the options is to create two contact cards to make for yourself: one with the complete private info, including name of your partner, date of birth and home address and a second contact card with only business info. This prevents you from being called at home when you have a day off.
You can create a second contact card manually (but you don't have to):
- Go to the Contacts app on your iPhone or iPad.
- Press the plus sign to create a new contact.
- Only fill in the information you want to share.
- Make sure your business contact card is clearly distinguishable from your privateé contact card.
li>

 < /p>
< /p>
For example, you could add ‘private&eac;’ to your extended version. and/or the business version with the addition ‘business’.
Unfortunately, it is not just possible to duplicate your existing contact card and then edit it. This can be done in a roundabout way:
- Open your own contact card on the iPhone or iPad.
- Send it to your Mac, for example via AirDrop.
- You will be notified that a duplicate card has been detected.
- Indicate that you want to edit the card.
- Click on Save both.
Option 2: Create private version of map
Another option is to create a private version of the map. This is possible in the macOS version of the Contacts app. This allows you to determine which data you share when you send the contact card to someone else.
- Open the Contacts app on your Mac.
- In the menu bar, click Contacts > Settings.
- Go to the vCard tab.
- Check the option: Activate private version of my card.
- You can optionally uncheck the other two options, about exporting notes and photos.

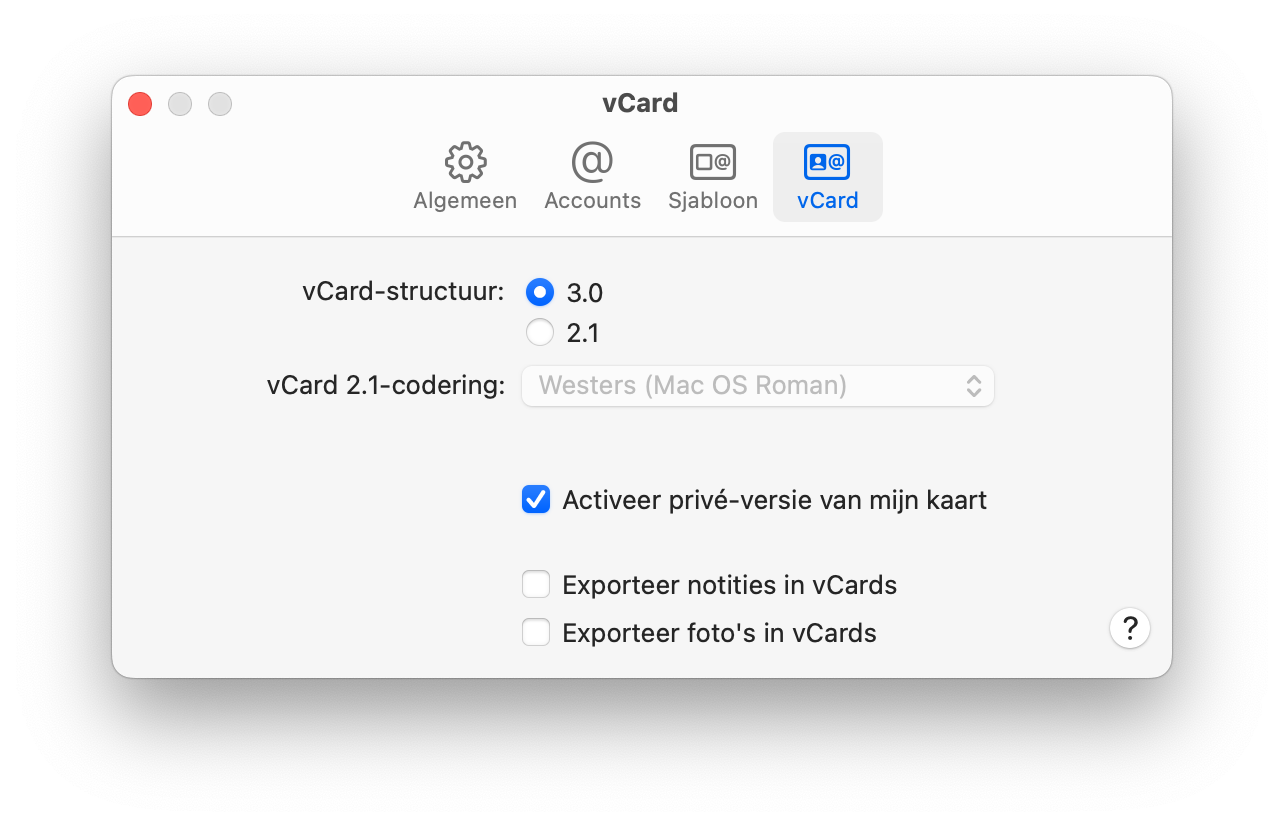
If you leave the notes export option on, any manual notes you've added about yourself or another person from your address book will also be included. You usually don't want this. Certainly not if you use your own note field for important personal information, such as your partner's pin code.
Open your own contact card now:
- Click Card > in the menu ; Go to my map.
- Click on Edit.
- You will now see a box behind each field. Check the items you want to share.
- You can also edit, delete and add other information.
- Click Done when you're done.
Check your restricted contact card
To make sure you've ticked the right boxes, share the contact card with yourself using Messages, Mail, or another option from the share menu. You will now receive the card and open it. You will then see exactly which contact details you have shared.
Read more about the Contacts app and address book below:
- Call your favorite contacts quickly with the Phone widget
- How to set up full screen contacts photos on your iPhone
- Backup Mail, Contacts and Calendar on Mac
See also 

Maak een backup of Mail, Contacts, and Calendar on Mac
Back up Mail, Contacts, and Calendar on Mac so you don't lose anything if you switch accounts. We explain how to make such a backup.