
With the existence of the Internet, there has never been a
better time to be a video star. And when those videos of you start to stack up
and gain viral popularity, they need a home. So where better than your own
branded YouTube channel?
Making one is rather straightforward and totally free. Today
we’ll be taking a look at mine, showing you all of the different elements that
go into making a YouTube channel page.

Setting Up a Page For The First Time
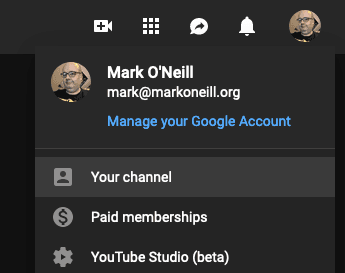
When setting up a page for the first time, you need to be signed into your Google account on YouTube. When you have signed in, look to the top right and drop down the menu. Choose “Your Channel”.

You will now be asked what name you want the channel to be
under. This can be changed later if you want, so don’t worry if you get the
name wrong the first time around. The photo can also be changed in a moment as
well.

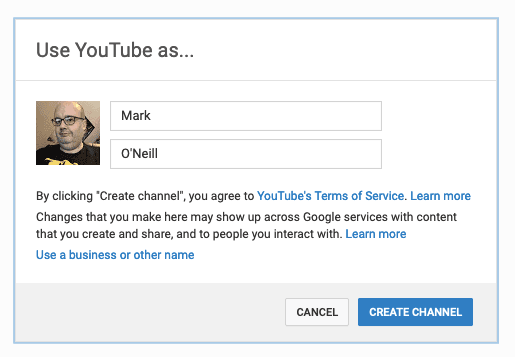
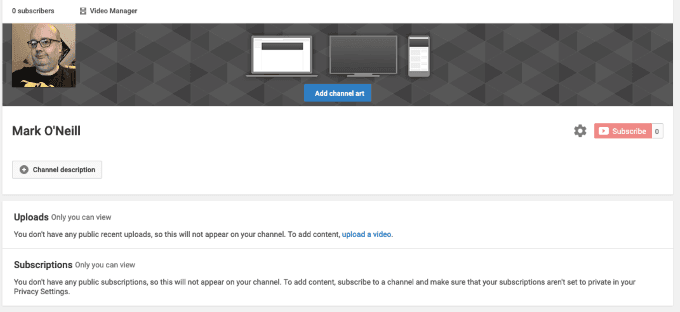
After entering the name of the channel, click “Create Channel”.

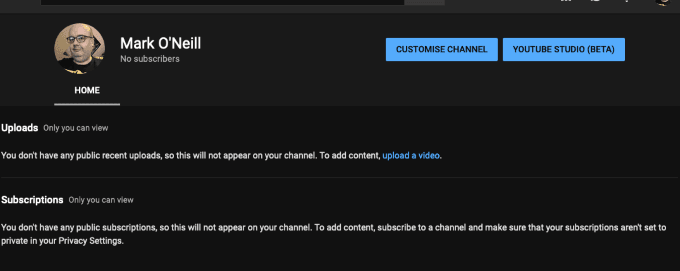
Above is what you will see next. Basically a barebones channel page which now needs to be built up. So click “Customize Channel” and let’s start tuning things to the way you want them.

Starting from the top and working down…..
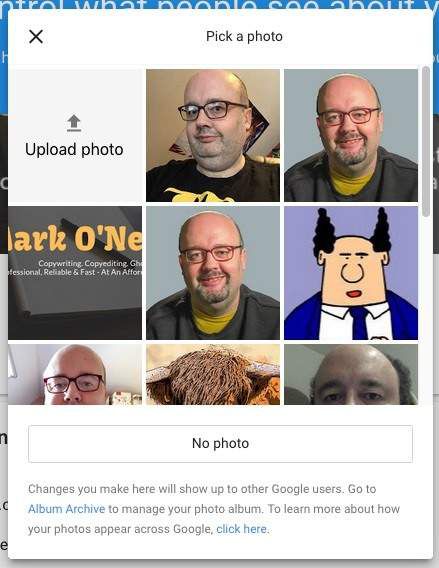
Profile Photo
If you want to change the photo, hover it and a small pencil icon will come up. Click on it and click the blue edit button that comes up. The photo is the one on your Google account so you will be redirected to https://aboutme.google.com/u/1/#profile_photo where you can choose an already-existing photo or upload a new one.

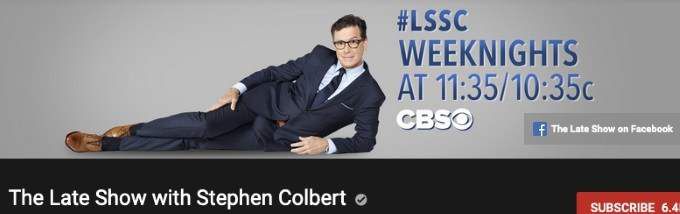
Channel Art
This is the banner which appears at the top of the channel
page. For example, here is Stephen Colbert’s one.

At the top of your page, you will see the upload button for
yours.


This is the one thing that really irritates the hell out of
me because I can never get it right. The official size for channel art is 2560
x 1440 pixels, but you have got to get it to fit on the desktop view, YouTube
TV view, and mobile view. And it just doesn’t work very well for me. So this is
something you need to work on repeatedly until you get it right.
The best website for making channel art is Canva, where you can make templates to the exact measurements, and drag and drop artwork and text onto it.
Channel Description

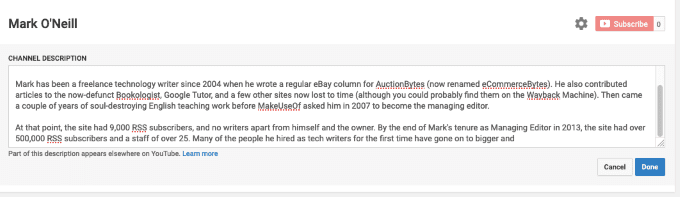
Next is the channel description, which is very important to
get right for SEO reasons. This is how people will potentially find you,
especially if your channel will be about a niche subject. However, there is a
character limit so don’t go crazy and start writing like Leo Tolstoy or
anything.
Channel Settings
This is accessible via the small cog next to the red
subscribe button. Here you will find various settings which you can either
switch on or off depending on your preferences.

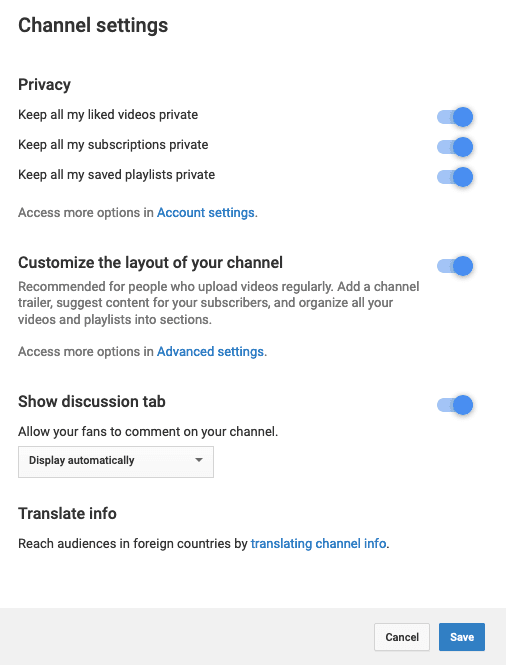
The only one I would personally change is the “Keep all my saved playlists private” (uncheck it). You will want your visitors to view your playlists as that is what keeps people binge-watching your videos.
Unless you know a foreign language, don’t touch the
“translate info” section.

“Customize the layout of your channel” is an important one. This section allows you to :
- Set
the country your channel is based in. - Set
the SEO keywords so people can find your channel. - Link
your Adwords account to your YouTube channel to promote videos. - Link
your Google Analytics account to your YouTube channel - Display
or not display subscriber counts on your channel page.
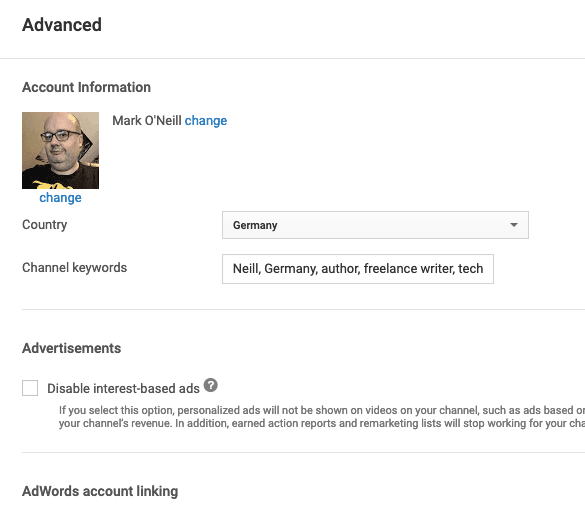
If you now go to this page, you will see more features to enable or disable.

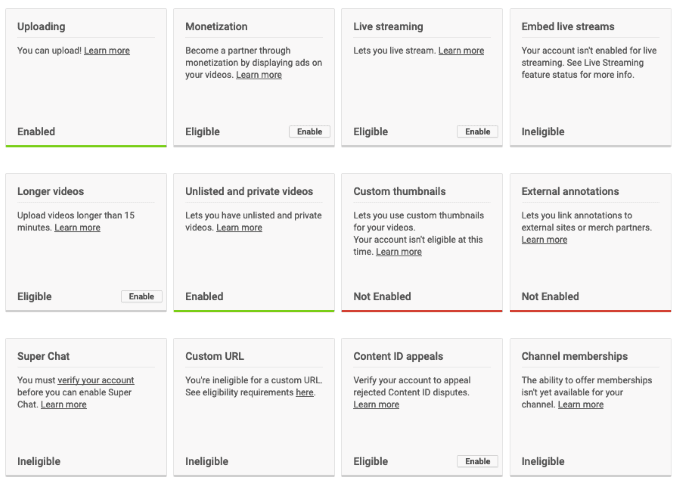
If it says “not enabled” or “ineligible” then it means you can’t use that feature right now. Even though the Monetization tab says “enabled”, you actually are not eligible until you have a minimum 1,000 subscribers and various other factors. If something you want is not yet offered, click on the “Learn More” link to find out what you need to do to qualify for it.
Uploads

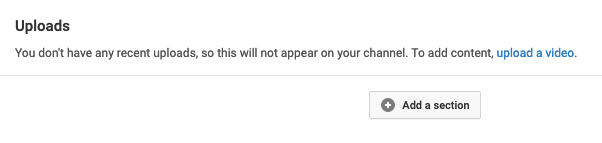
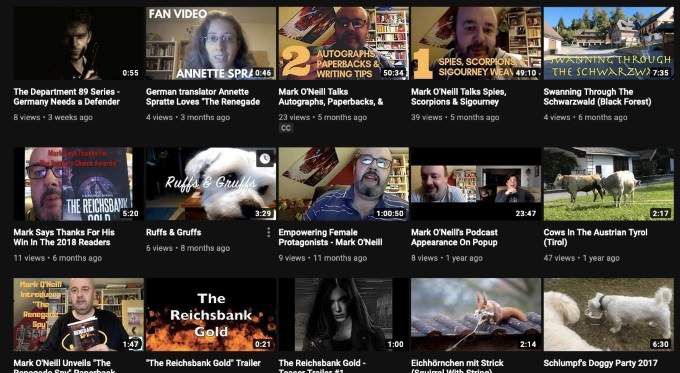
Going back to the main channel page now, it’s time to look at how your videos will be presented when you start uploading them. So click on “Add a section” but bear in mind some of these sections will not actually appear on your page until you have videos uploaded.
You will get two menu boxes. The one on the left is for the
different types of content you can display on your page.

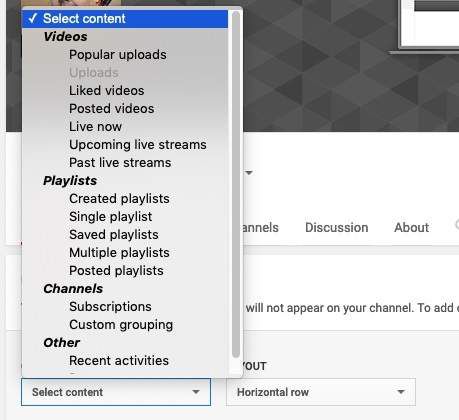
And the one on the right is for the type of positioning you
want the content to be in – either vertical or horizontal.

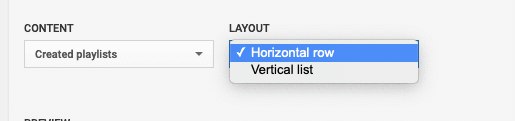
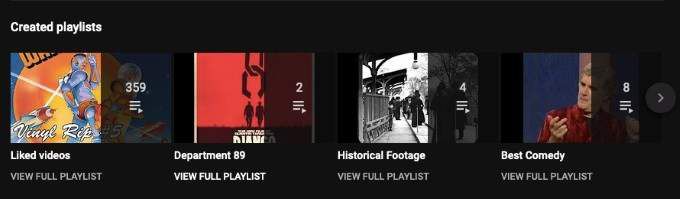
So on my channel page, this is what the playlists section looks like in horizontal view.

But if I was to flip it around to vertical view, it would now
look like this.

So you need to decide what looks good for your page.
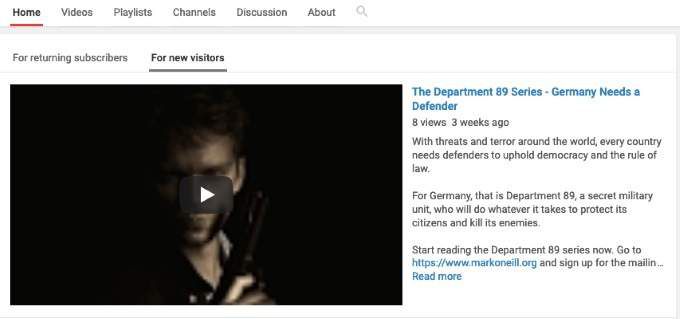
Another good section to have is the introductory video for
non-subscribers and a video for people who are already subscribers. The
introductory video for non-subscribers could be just you saying hello briefly and
describing the benefits of the person subscribing to your channel. I instead
chose a self-made promotional video for my books.

Featured Channels


On the right-hand side, you can link to channels which you
feel might add some benefit to your visitors. Maybe channels similar to what
you talk about, ones you just personally enjoy, or channels belonging to your
work, friends, family, and so on.
On mine, I link to writing and book-related channels.
Now Upload Some Videos!

Your channel page will always really be a work-in-progress
with new album art being uploaded, the channel description constantly being
tweaked, and so on. So the next best piece of advice is just to start uploading
some videos! Pretty soon, your channel will fill up and the subscribers will
hopefully start pouring in!