
At first glance, Facebook advertising can be a pretty confusing encounter. Its features are powerful but rather overwhelming and complex. A Pixel, Facebook’s advertising analytics tool, is one of the more particularly frustrating and complex features.
Facebook Pixels are incredibly common across most advertising platforms. Anyone currently or planning to use Facebook ads will find an amazing tool in Facebook Pixels. If you’re looking to get the most out of your social ad budget then you’re going to want to know exactly what a Facebook Pixel is and how it works.

What Is a Facebook Pixel?
A Facebook Pixel is a hidden code that you can place on your website. The code will collect data that helps you track conversions from Facebook ads, optimizes those ads for your target audience, builds that audience for future ads, and remarkets to others who have already visited and taken action on your site.
Facebook Pixels operate through sequential retargeting. This means that they’ll drop a cookie, information stored as text strings on your computer, that will track visitors who visit your website so that you can produce targeted advertisements. Once a visitor sees the advertisement, the Facebook Pixel can be used to track their behavior upon return.


What Is a Facebook Pixel Good For?
In short, a Facebook Pixel is a great way to improve your Facebook ad conversion rate and achieve a better return on investment (ROI). The information gathered is vital for creating stronger Facebook ads and helps with ad targeting. This ensures that your ads are seen by visitors who are more likely to action.
Installing Facebook Pixel now will save you a lot of extra time down the road. Regardless, whether you’re using Facebook ads now or not, the Facebook Pixel will begin collecting data for use later and be ready once you are, to create your first Facebook ad.

Prime examples for what a Facebook Pixel is good for:
- It allows you to see how people interact with your website after viewing your Facebook ad. You can then track these customers across all of their devices allowing you to refine your ad strategy and calculate your ROI.
- Helps expand your potential customer base by allowing Facebook to use the collected data to build a larger audience with shared interests to those already visiting your site.
- Provides additional tools and metrics for use such as web conversion campaigns, dynamic ads, and the ability to track cost per lead and cost per conversion.
- Facebook retargeting which is just sequential targeting for Facebook. Show new customers targeted ads or current customers an ad specific to what they may have abandoned previously in their shopping cart.
- Optimize Facebook ads for specific conversion events held on your website.
- Optimize Facebook ads targeting your audience based on value leading to higher ROI.
- Allows you to customize website events to collect additional information.

Create And Add a Facebook Pixel To Your Website
With everything explained about the what and the why, that just leaves us with the how.
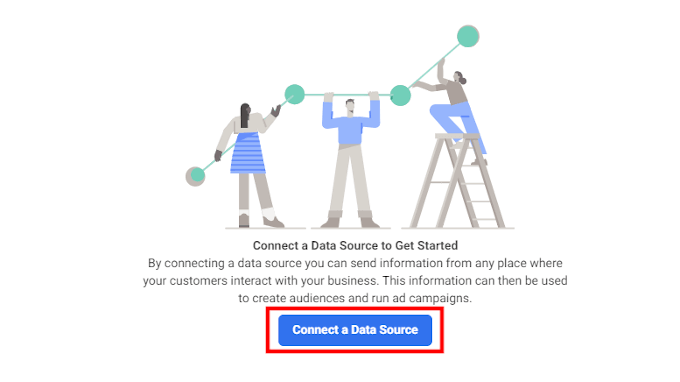
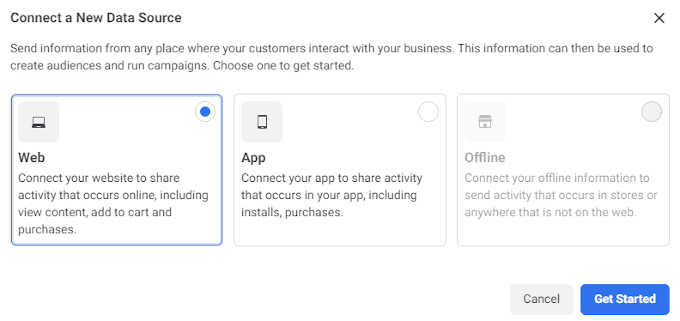
- Head into your Facebook Events Manager, and click the big blue button in the main window Connect a Data Source.

- As more people are likely to have a website as opposed to their own app, we’ll be selecting the Web option provided in the next window. Follow this up by clicking Get Started.

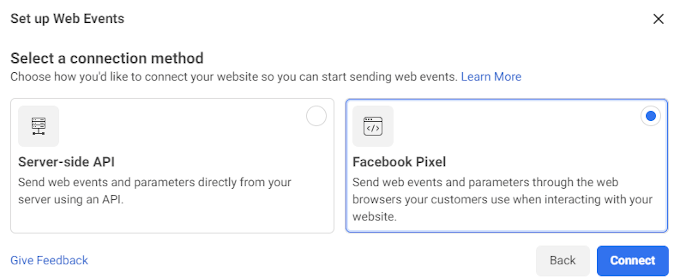
- Select Facebook Pixel and click Connect.

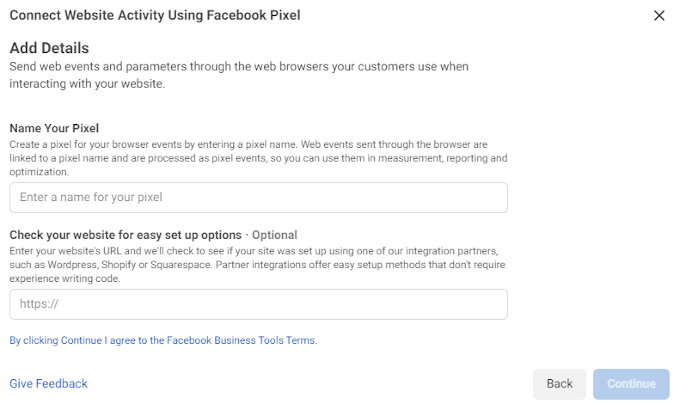
- Provide the details of your Pixel by giving it a name and the URL for the website it will be installed.

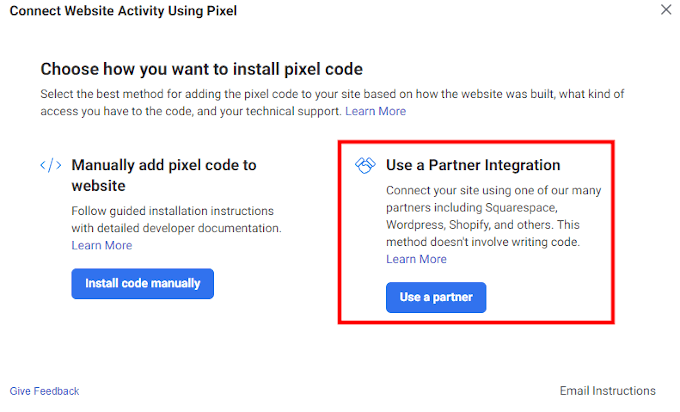
- Next, you’ll get to choose how you want to install the pixel code. If you happen to use Squarespace, WordPress, or other Facebook partner, the Use a Partner Integration option is recommended. We’ll be using WordPress in this tutorial.

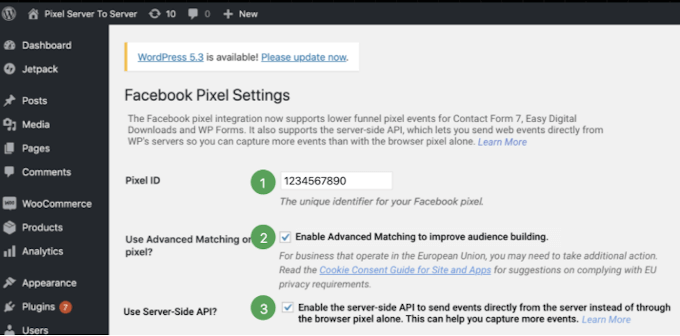
- After selecting WordPress from the list of partners, you can select which features you’d like to enable along with the code.

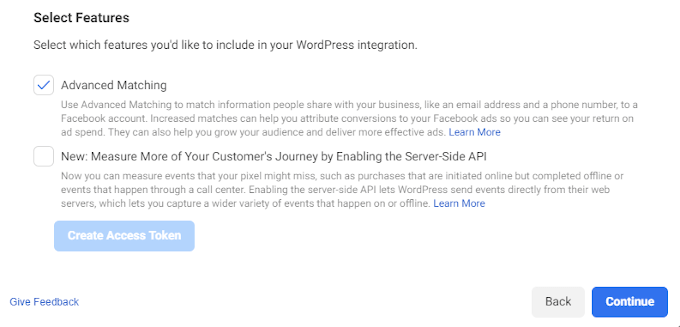
Automatic Advanced Matching will collect additional data from your visitors. It’s not mandatory but the more information Facebook Pixel has, the better tailored the ads will be.
- Hit Continue to proceed.
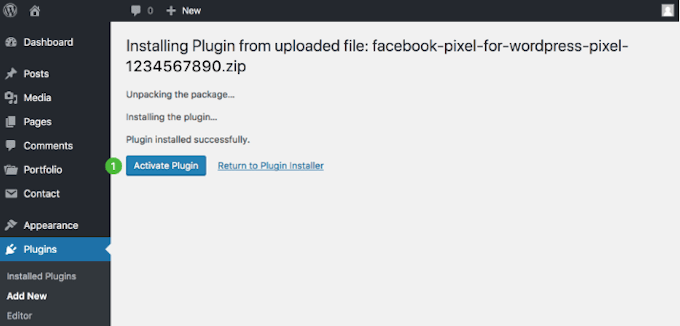
- Next, you’ll be able to download the .zip file containing your Pixel code. Click the green Download button.

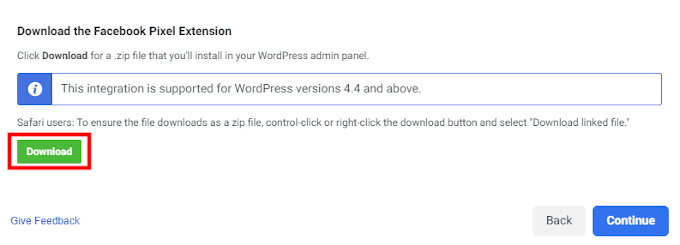
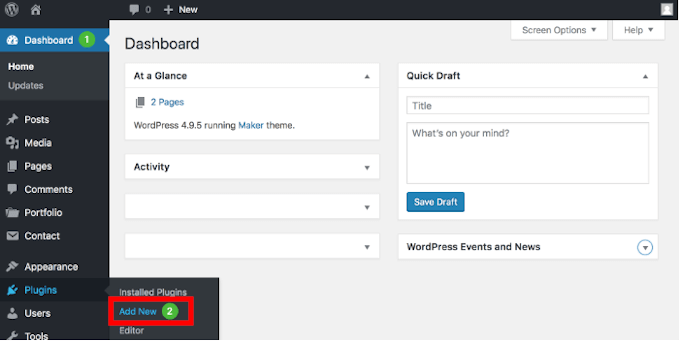
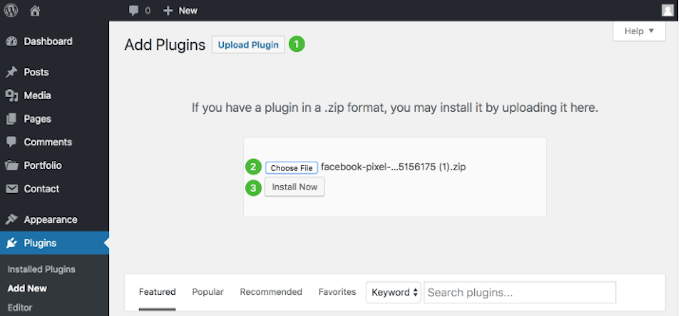
- Once downloaded, click continue and follow the onscreen instructions to add the .zip to your WordPress site.


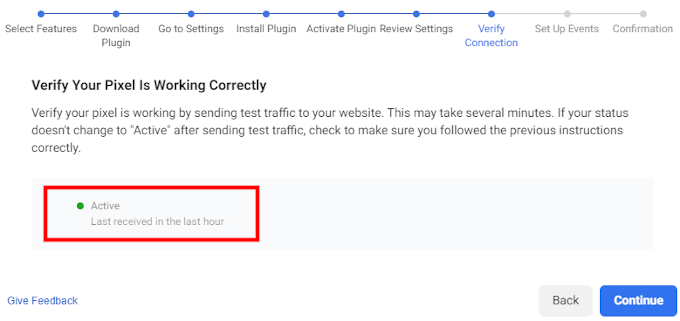
- At the Verify Connection step, it may take a few minutes post installation for the connection to reach Active status. Be patient and once it turns green, click Continue.

- You can now set up events to take place on your website. Enter the URL of your website into the available space and click Connect.

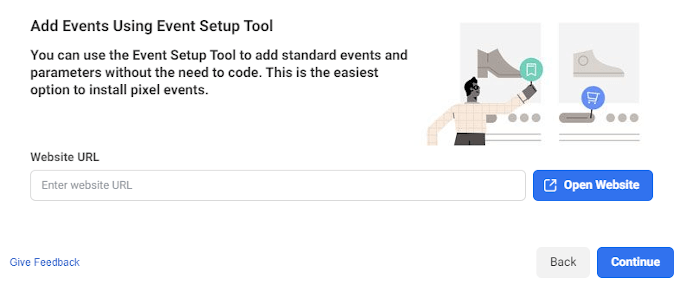
- A new tab should open to your website and with it, a pop-up window. Click through to begin setting up events.

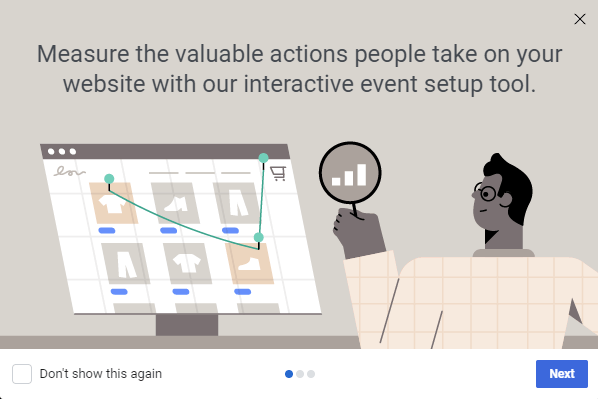
If you have no desire to set up events now, you can always come back to it when you’re ready.
Events will track the actions of visitors and create a reaction depending on the trigger you’ve set up. This can be anything from tracking certain buttons pushed to initiating a checkout prompt when a visitor adds something to their cart.
- You can see if and how well your Pixel is working by heading back to the Facebook Events Manager page.

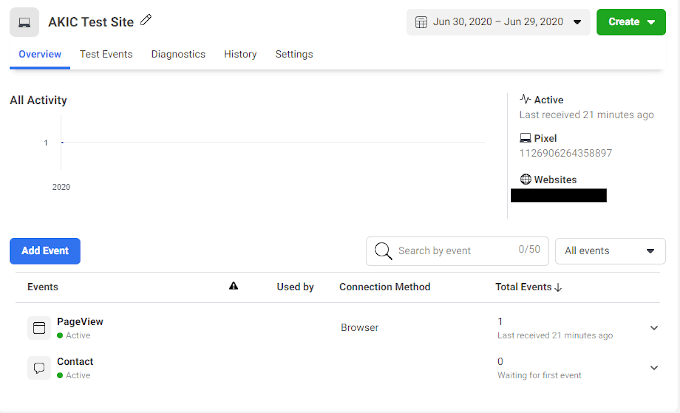
Your page should look something similar. You can track all of your events, test them to ensure they’re working properly, and adjust the settings to however you see fit. It’s also imperative that your visitors know your website is collecting data in order to comply with Facebook’s terms.
Avoid legal complications and ethical dilemmas by providing your visitors with a clear notice that you’re using the Facebook Pixel. Allow users the opportunity to opt out should they choose to do so as in the current digital age, people are ever wary of their need for online security and privacy.