
Did you know you can create custom t-shirts online with zero upfront cost and zero stock? Websites like Teespring, Redbubble, and Zazzle will let you create a free store page and they’ll print and ship your designs across the world for free.
They’ll take a cut of the profits, of course, but it beats investing in stock or manufacturing costs. It can also be a great way to customize your own clothing to wear yourself too.

Whether you’re looking to start your own brand, sell merchandise, or create custom clothes to wear, this guide will take you through everything you need to know.
Teespring vs Redbubble vs Zazzle – Which is Better?
There are dozens of custom merchandise websites now, but we’ve picked out three titans that offer easy signups and creation – Teespring, Redbubble and Zazzle. We will compare prices, royalties, and merchandise creator tools between these three websites below.
Zazzle – Complex Designer, Low Profits
Zazzle is the best platform for making not just custom t-shirts, but all sorts of products. With Zazzle, you can choose to print your design on hundreds of products from shirts and hoodies to custom skateboards and playing cards.

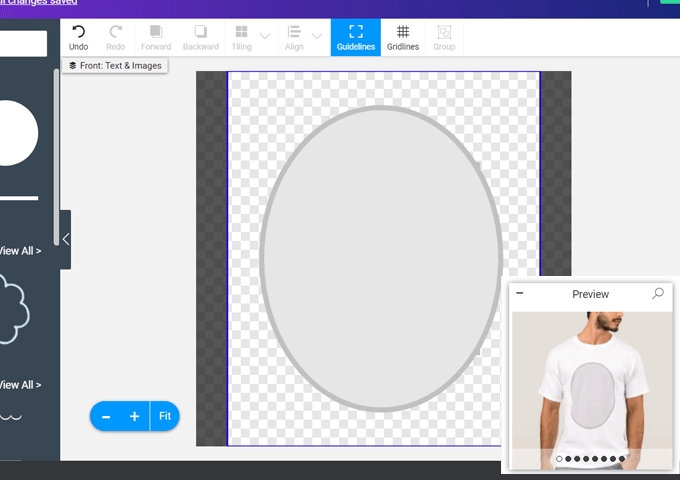
When it comes to making t-shirt designs, the tool on Zazzle can be quite complex. The system works similarly to Canva, a free online image creation tool. For us, we found the Zazzle creator page to work perfectly for creating something like posters or photo frames, but it felt like the t-shirt design feature was an afterthought.
There is less help for ensuring everything lines up and no details about what the print quality will be like, which is a feature competitors do offer.

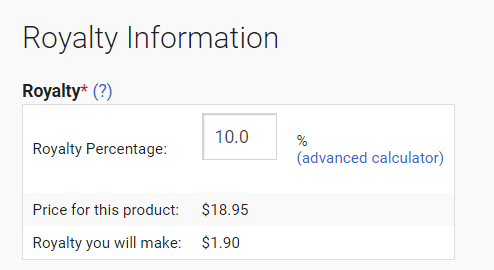
Royalties on Zazzle aren’t great. The base price for a basic custom t-shirt is $17.95 and you must add royalties on top of that. The recommended royalty rates are between 5% and 10%. With this, you’d make between $0.90 and $1.90 per t-shirt.
Redbubble – Simple Designer, Low Profits

Redbubble also has a larger selection of products, and it’s very straightforward to use. Create an account, and add a banner and information about your store from your profile page. From there, you can upload images and they will be directly added to any products you choose.
This has some issues, because you have to create the design outside of the website and upload it directly. You can’t add multiple images at once. When you add images they’ll be shown on a preview of your custom t-shirt or product. Some may prefer this approach, but being able to add elements and adjust them on the design before finishing is a lot easier.


Pricing on Redbubble changes, but at the time of writing we found t-shirt prices start at £12.70 ($16.48). You can add your own margins on top of that – a 10% margin would make the retail price of the cheapest t-shirt option to be £13.76 ($17.86) and you’d make £1.06 ($1.38). Very similar to Zazzle’s offering.
Teespring – Simple Designer, Reasonable Profits

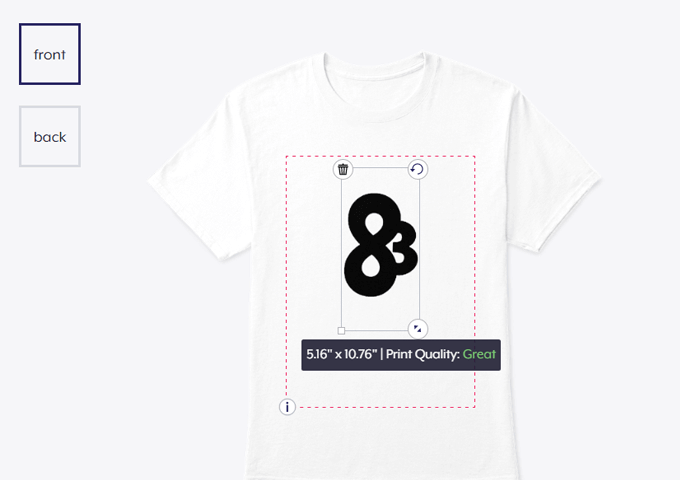
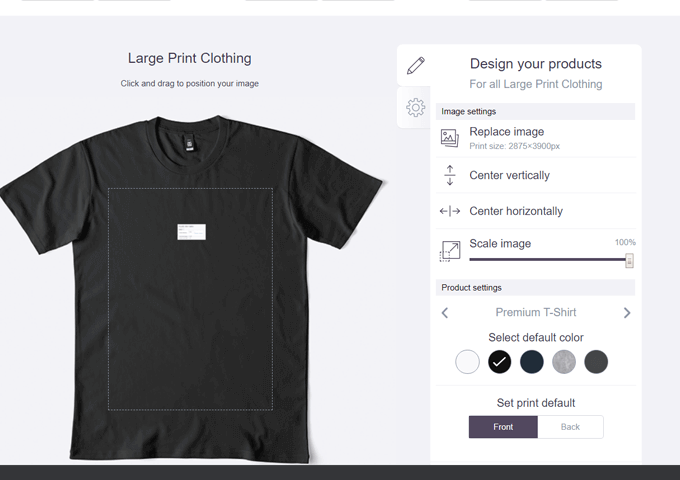
Teespring has a designer that’s similar to Zazzle’s, but more straightforward. Simply upload images and add text. As you do so, the images and text will show on the t-shirt. You can click to move, rotate, and resize all elements.
What we like over Zazzle’s designer is the quality checker. If you add images that are too low quality, Teespring will tell you. You can also quickly see if images are in line with each other.

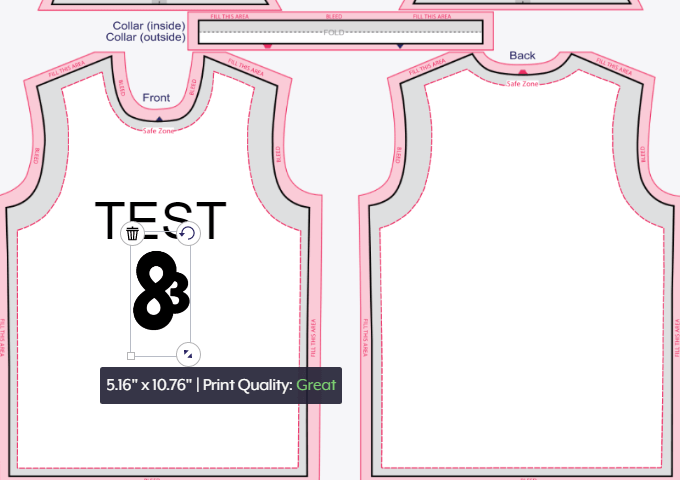
For more complex custom t-shirt designs, Teespring will provide you the print template so you can line everything up perfectly.
Teespring deals with pricing a little differently. Instead of adding royalties on top of a base price, you can choose the retail price of your shirt and Teespring will calculate your profits. If you priced a T-shirt at $17.95, you would make $7.38 per t-shirt – far better than Redbubble and Zazzle.

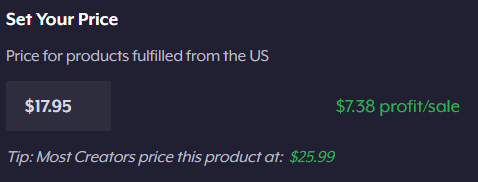
With a lower base price on Teespring, you could buy your own custom t-shirt designs for cheaper, or make more profit with each sale.
How To Create Your Own Custom T-Shirts On Teespring
With more profits and a better designer built specifically for creating custom t-shirts, we’ve picked out Teespring for this guide. Below, we’ll explain how you can set up your own store and creating your own custom t-shirts to sell or buy for yourself.

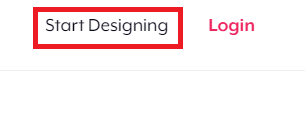
- To get started, first visit Teespring and click Start Designing in the top left.
- Go through the account creation process.
- Next, click Create & Sell and click Continue.
- You’ll need to choose a store name – this will be your own custom URL for where you can list your custom products.
- Next, we’d suggest that you go back to the Teespring homepage. From here, click Start Designing again.

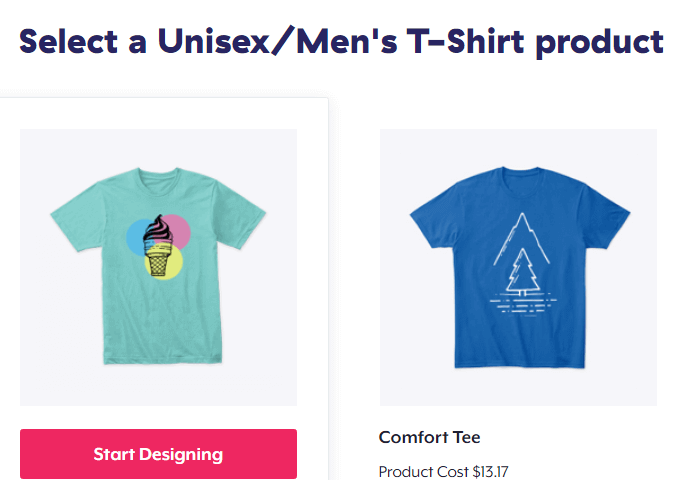
- Choose the product category and product you’d like to add your design to. For this guide, we’ll select Unisex/Men’s T-Shirts and then Classic Tee.
- Next, choose Buy if you’d like to buy the design for yourself, or Sell if you’d like to list it in your own store to sell later.
It’s now time to start creating your custom t-shirt design. We would highly recommend using image editing software to create your own designs and text in a font you like. Save each image as 300 DPI PNG files with transparent backgrounds. If you can’t afford Photoshop, try a free image editing alternative.
Alternatively, look for free clipart online to use in your designs. You can find more guidance on this from Teespring here.

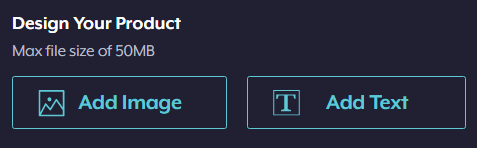
It’s best that you create separate images for each element or logo – for example, one image for a logo and one for text. Next, click add image on the Teespring creator page. On the right, you’ll now see the image on your t-shirt. Click and hold to drag the image to a new location.


Each image you add will have separate controls for rotation, positioning, resizing and deletion.

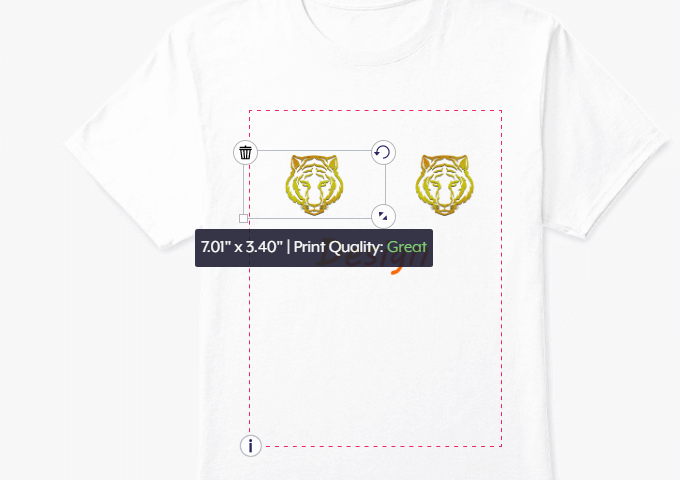
You will also have on-screen prompts to tell you the size of an element so that you can ensure duplicate elements are the same size, and on-screen prompts will tell you if the print quality will be good enough. If Teespring says that the image will be poor print quality, recreate the image with a higher resolution.

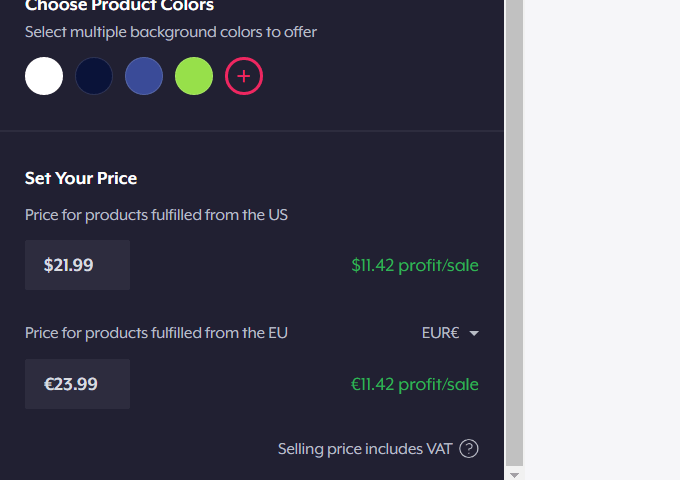
Once you’ve finished the design, choose the available colors and pricing on the left side. You cannot edit this later without contacting support so make sure you choose the colors you like. We advise not choosing t-shirt colors that are too similar to your design colors.

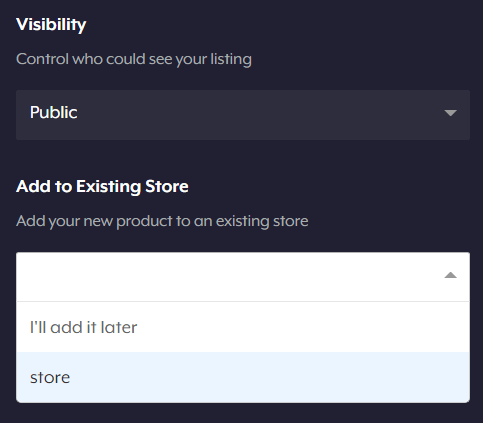
Next, click continue and add a description and URL for your custom t-shirt. Make sure to select the right visibility settings and choose to add it to the store you created earlier. Finally, click Publish listing and you’ll be able to find your t-shirt in your store.
If you make your own design to buy, you’ll skip over these last few steps and will have the option to buy it directly instead.