
Have you ever noticed an error in your YouTube video after it has already been uploaded and shared by you and others to social media?
If you have found yourself in this situation, your first reaction might be to panic and think you must fix the error, delete the uploaded video, and re-upload the new one.
However, this process will render your previous video link dead, and any embeds of your video will show the following image to visitors.

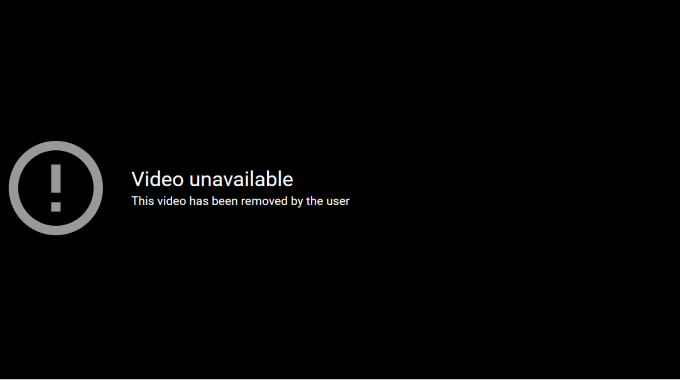
Don’t forget that you will also lose all your stats and comments associated with the removed video. However, there is a better solution. Welcome to the YouTube Editor.
Beyond the basics of producing customized video thumbnails, the YouTube editor allows you to edit the video itself in a number of really useful ways. Here are some of the edits and fixes you can do to your uploaded YouTube video without losing your link or stats.
Trim Your Video

There might be times when you want to cut out parts of your video at the beginning, middle, or the end. This capability is especially helpful for those of you who do live streams and have too much dead space that you want to remove.
Rather than re-uploading a new video where you will lose comments, the original URL, and the number of views, follow the steps below using the YouTube Editor.
- Log into your YouTube account.
- Click on your profile picture in the top right-hand corner
- Select YouTube (beta).
- If you are currently using an older version with Creator Studio, click on it
- You can then choose to use the Beta Studio.
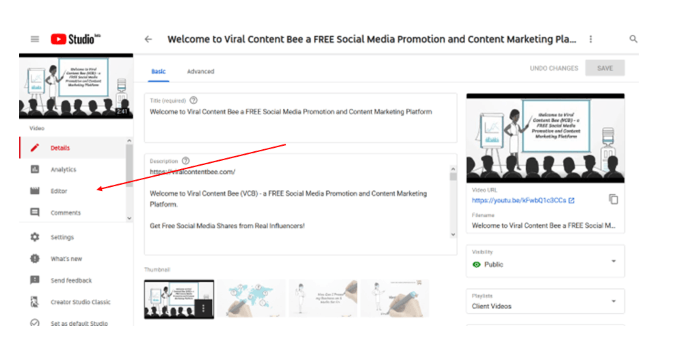
- Click on the videos tab from the left side menu.
- Now click on the thumbnail of the video you want to edit.
- Choose editor from the menu on the left.

- Now that you are inside the YouTube editor, you can choose to trim the beginning or end of the video. The process is the same no matter which end you want to cut off.


- Click trim and see the blue bar at the beginning and the end of your video.


- Hover your mouse over the blue bar until it turns white and shows double arrows. When it does, you can drag the bar to the part of the video you want to keep.
- The process is the same for the beginning or the end of the video.

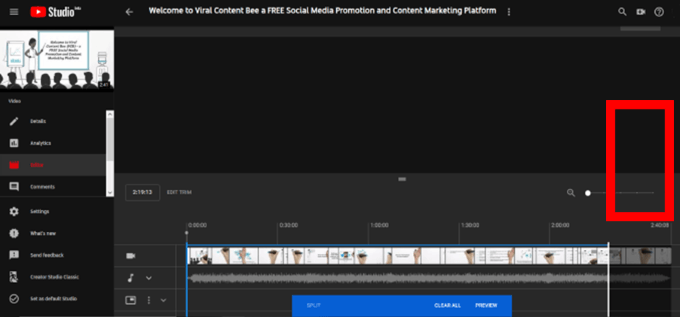
- Note that when you select an area you want to remove, it will be a darker color than the rest of your video.
- Now click preview to see what your edited video looks like.
- You can make further edits by clicking edit trim.
- Once you are satisfied with your edits, click save. The sections you highlighted will be taken out in the final version.
- While the edits are being processed in the background, your original video will continue to be shown to your viewers until it is replaced with the finalized edited version. It might take a few hours to process.
- To remove a portion of your video that is not at the beginning or the end, first select the area you want to remove.
- When you find the first part of the video that you want to trim, click trim and then click split.

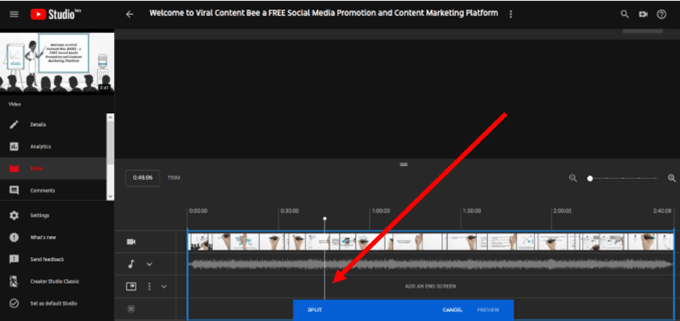
- Once you click split, you will see another white line like you did when trimming the beginning or end of your video. Drag this other white bar to the place in your video where you want it to start again.

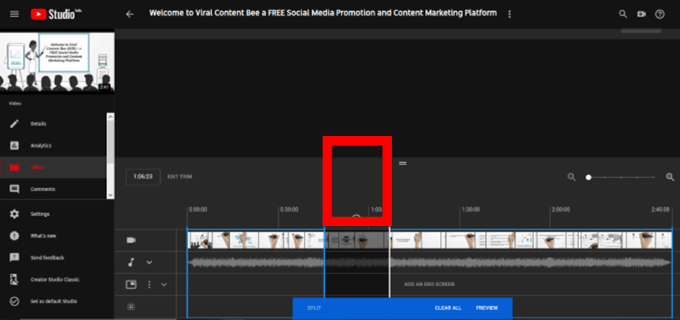
If you need or want to, you can trim multiple parts of the same video using the same process.
- Click preview to review the edits you made.

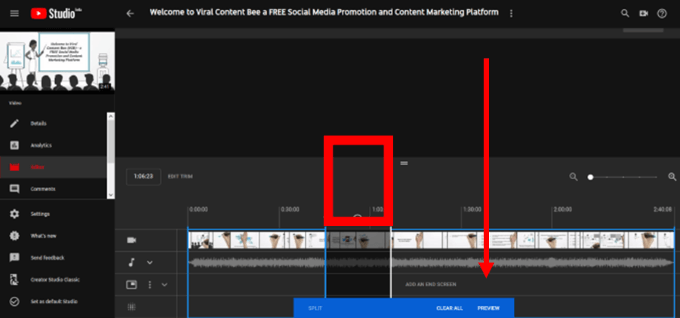
- Click edit trim if you want to make any additional changes.
- When you are satisfied with your edits, click save.
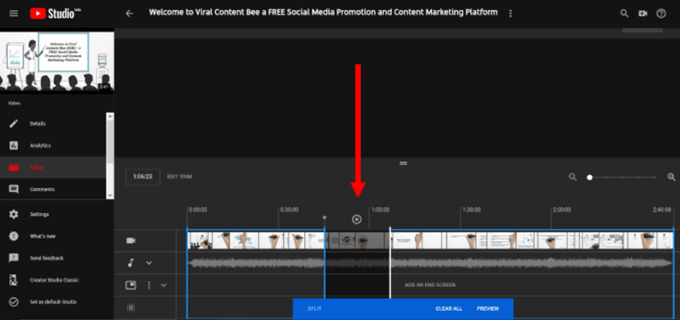
Do NOT click on the “x” over the section you have selected. It will not remove it from the video. It will, however, remove your selected section.

You will not be able to save your edited video until you preview it first. The save button will be grayed out. However, once you preview your changes, the button will be blue, and you will be able to save it.
Edit Your Audio


Changing the audio or music file in your YouTube video is a simple process. Some of the reasons you might want to swap or add audio are:
- You might want to add some music in the background of a live stream event.
- YouTube blocks your music track because it violates copyright as defined by law.
- A content ID claim is placed on your video. It is different from a copyright violation in that it is a deal between content partners and YouTube. Content ID claims do not block a video. They don’t count as a copyright strike and don’t result in your channel being suspended or terminated.
Let’s get started showing you how simple it is to swap or add music to your video from the more than 150,000 free music tracks available inside your YouTube channel.
- Start from the same editor section you used when trimming your video. Look for the music note and click the drop-down next to it.
- When you click the blue audio button, you will be taken to a different screen, as shown below.

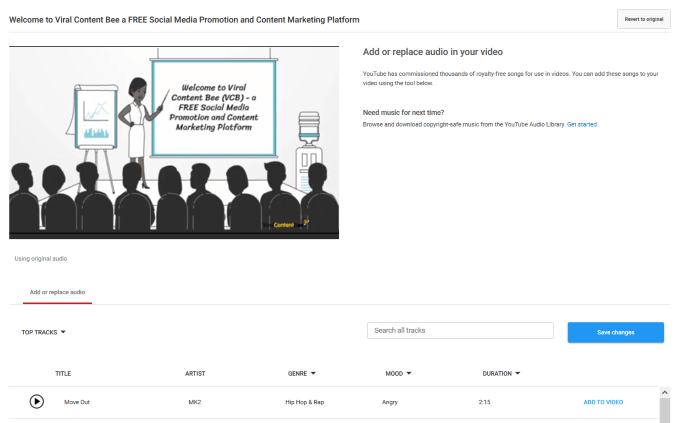
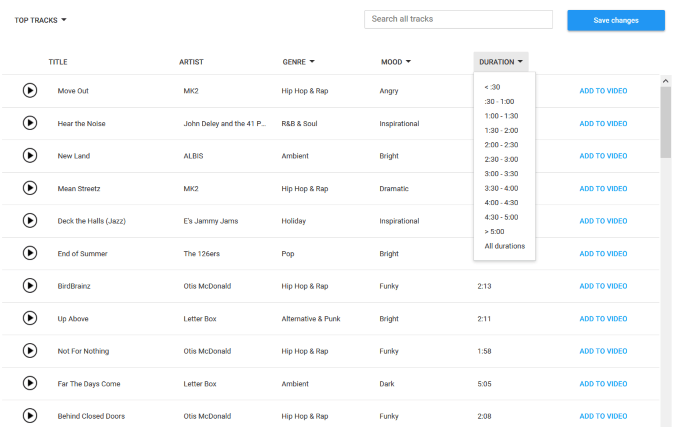
- Select from one of the audio tracks provided by YouTube. You can sort by genre, mood, and duration.

- Once you have selected a track you like, click add to video then save. The audio will then be replaced.
The ability to trim your YouTube video and to swap out the audio are two ways to avoid losing your stats and links. However, many other valuable features of the YouTube Editor can help you drive more traffic to your videos and increase engagement. Here are some examples.
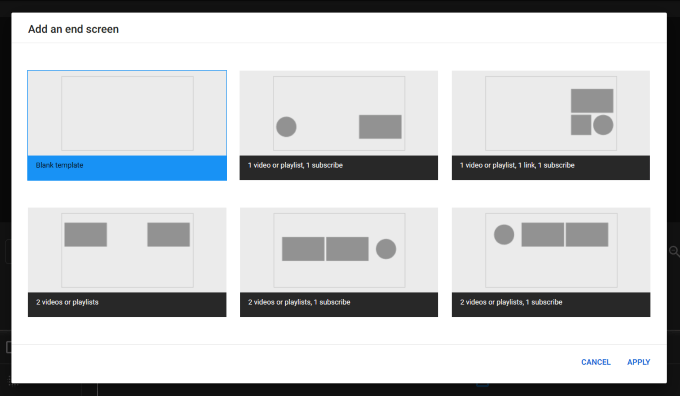
Add an End Screen
Using the YouTube editor, you can add an end screen to:
- Watch your most recent uploaded video.
- Provide a link to a related video on your channel that you want the viewer to watch next.
- Lead your viewer to a specific video or playlist you choose on your channel.
- Get people to subscribe to your channel.
You will be given the choice of using a template or starting from scratch.

For more specific and detailed instructions on how to add end screens, watch the following video on the subject.
Add a Blur
There might be a situation where you don’t want to show someone’s face in a video. Rather than take it down, you can use YouTube’s blur face feature.
You can also choose any part of your video that you want to blur with the custom blur functionality of the editor.
There is no longer the need to worry about taking down a YouTube video if you need to edit it in any way. With YouTube’s editor, make the changes to your video after it’s uploaded and don’t lose your link or stats.