

I’m sure
you’ve heard this many times before until you’re sick and tired of hearing it.
You need strong unique passwords for each of your accounts. Don’t use the same
password more than once. Don’t use personally identifying information and make
the passwords as long as possible.
This means
no passwords such as 12345 or abcde. Or the classic password. If you use them, well, don’t
ask yourself or others why you were hacked. Instead you need something utterly
mind-blowing like g6J2_a1##@RlQ56..99+*B.

But the problem then becomes that you are not a robot that can possibly reel off incomprehensible passwords like that. That is why you need a password manager, and since I absolutely love open-source software, my password manager of choice is KeePass.
It also
has my loyalty because it has a portable version so it fits on my USB stick.
Setting
Up KeePass For The First Time
I am going to use the Windows portable version for this article as I generally dislike installing software if I don’t need to. Plus, since I use multiple devices, having something that can go on a USB stick appeals to me.
Download
It
So, first
you need the installation file (obviously).
If you go to the KeePass downloads page, you will see the latest Windows versions at the top. Always use the most recent version.

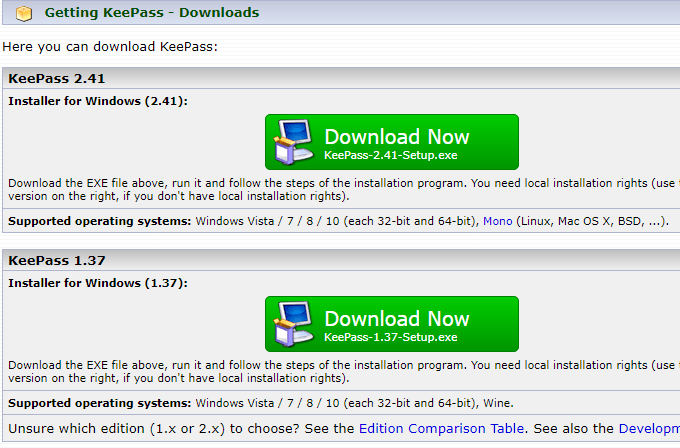
Below
that, you will see KeePass versions for other platforms, such as MacOS, Linux,
iOS, Android, and so forth. There’s even one for the Blackberry. Cute.

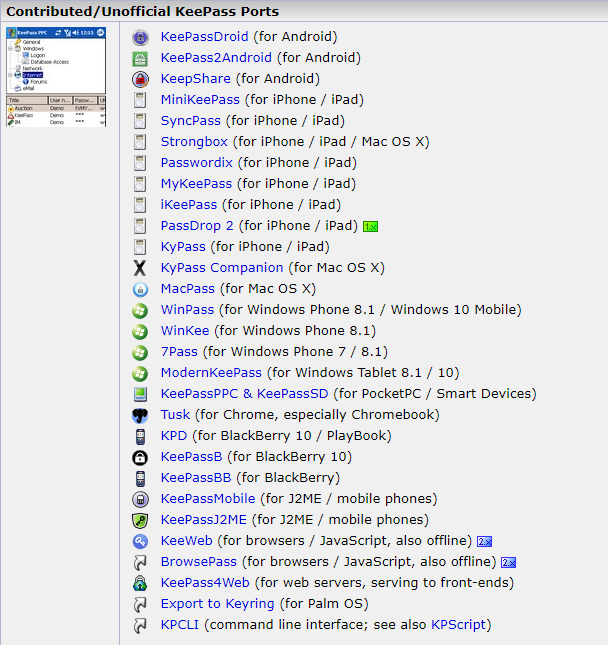
Even
though they are not all called KeePass, they are nevertheless all fully
compatible with KeePass password databases.
Open It
Up
Now unzip
the zip file, ensuring that the folder structures remain intact. Place the
unzipped file on your computer or USB stick and open it.

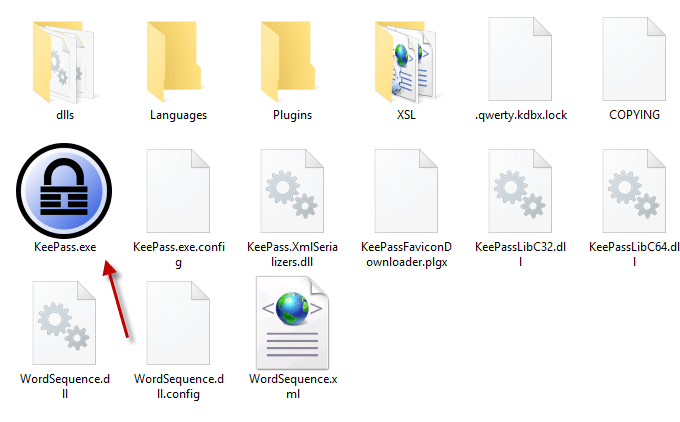
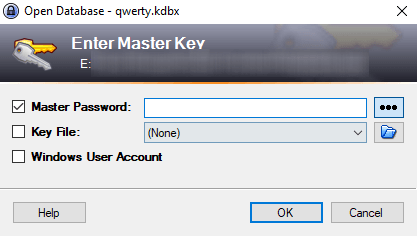
Click on KeePass.exe to start the program and you
will see a login window that gives you access to your secure password database.

But since this is your first time with KeePass,
there will be no database to open yet. So you will have to make one.
Close the login window and a blank window will jump
up.

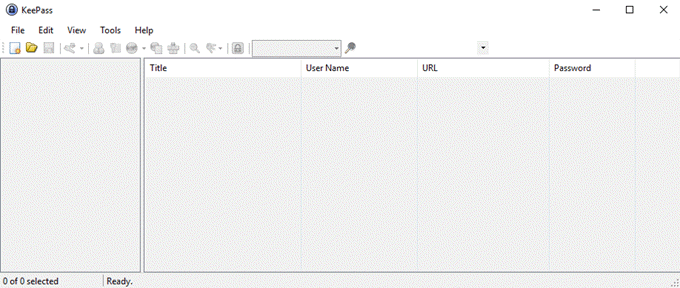
Creating
Your First Database
Click File–>New, which brings up this.

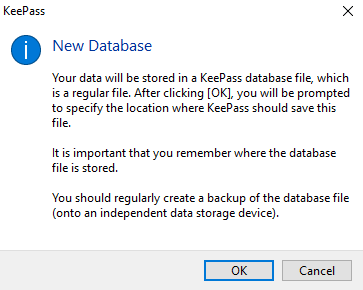
Click OK and the next step is to make and save a
KDBX file (the file format of a KeePass password database).
Make sure it’s in the same folder as the other
KeePass folders and files so it doesn’t get mislaid.

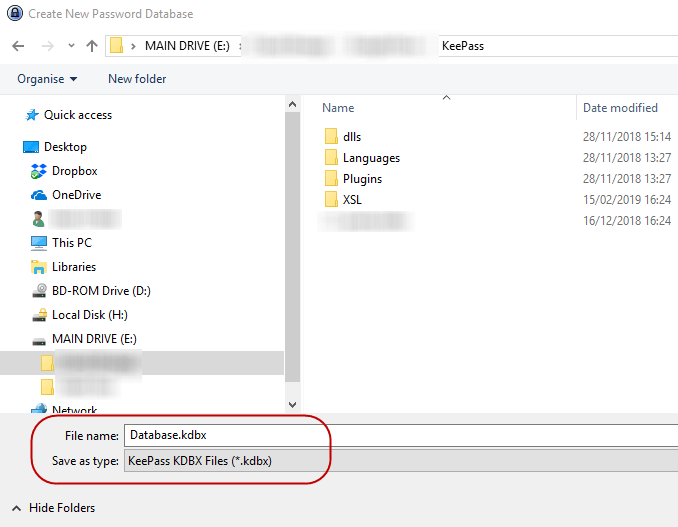
You can also rename the KDBX file to whatever you
want. Call it Mango if you want. KeePass doesn’t care. As long as the KDBX file
format is there, that’s all that matters..
Setting The Database Password
The only thing stopping someone from hacking your
password database is the password you give your KeePass database. Make it weak
and they’ll bust right through. Make it strong and they will never get in.
So don’t rush this part of the process.

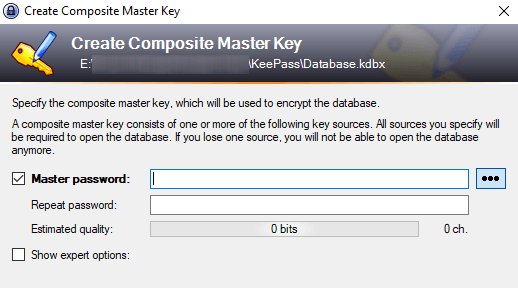
Try to make your database password as difficult as
possible to guess. Use upper and lower-case characters, numbers, and maybe a
few special characters such as a comma or a full stop.
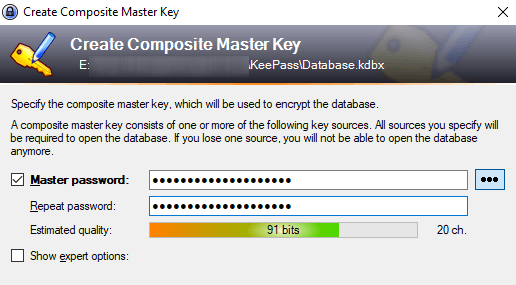
As you are typing in your desired password, the
“Estimated Quality” of the password will show you what KeePass thinks of your
choice. You want that going as high as possible.

You Will Definitely Want An Emergency
Sheet!
You will finally be asked if you want to print an
“Emergency Sheet.” YES!
For obvious reasons, there is no reset password
option. So if you forget your database password, or you die and your
next-of-kin needs your passwords, then you or they are going to have a major
problem.
So print out the emergency sheet, write the master
password down, then hide it. If it is for your next-of-kin, put it with the
will where they can find it.
Customize Your Database
Your database will now open and you can begin making
and saving passwords.

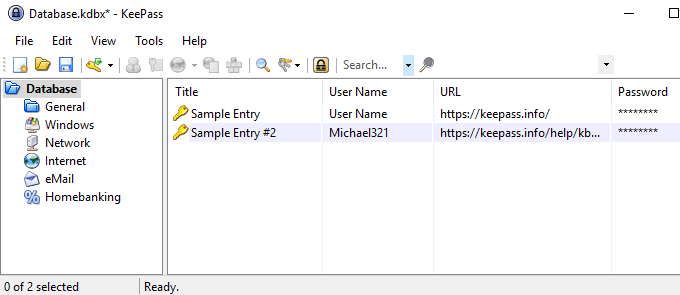
The login categories are on the left. These are the
default ones KeePass gives you but you can delete them or rename them if you
want. You can also make unlimited new ones.
It will have two sample entries already saved on the
right and you can go ahead and delete those.
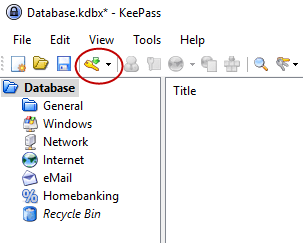
Generating Your
First Password
To generate a password, go to the top of the password
database window and click on the small yellow key.

A new
password window will now open. You now need to fill in the fields. The title would be the name of the
website, software, whatever. The user name…well that is self-explanatory. The
URL would be the link to the website or software service obviously. None of
these fields HAVE to be completed but it helps.
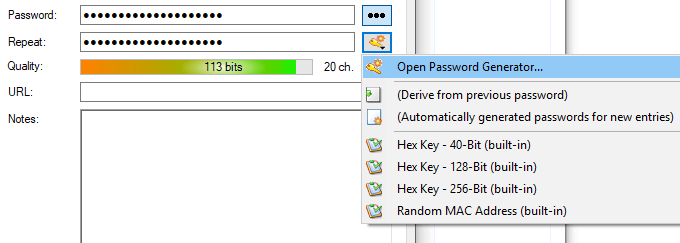
Now for the password. For security reasons, the
password is concealed with dots. If you click the three dot button, the
password will reveal itself. Click the button again to mask the password.
To generate a password, click the key icon under the three dot button and you will get this menu. Choose Open Password Generator.

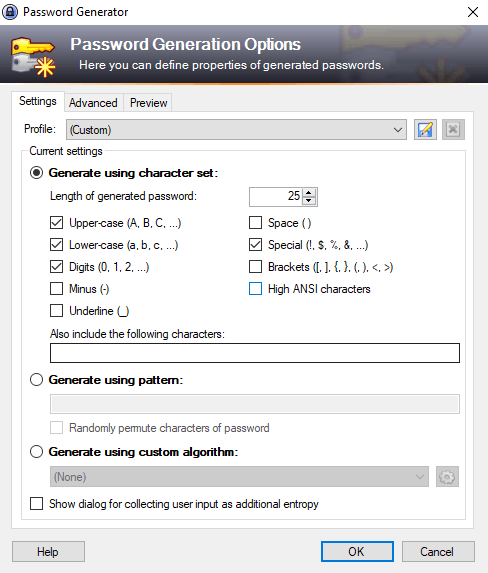
You really only need the Generate using character set section. Choose the length of your password (a good length is a minimum 25 characters). Then choose what types of characters you want in the password.

Now click OK and the password box will be
pre-populated with the password. Click on the three dot button to see what you
were given. Don’t like it. Use the password generator again for another spin.


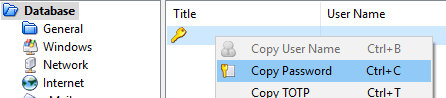
Logging In
When you want to log into that site, right-click the entry in KeePass and choose Copy Username. Then click in the username box on the website and CTRL + V to paste the username in (or CMD + V on a Mac). Right-click on the entry again and choose Copy Password and repeat the process in the password box.

You need to be quick because after 12 seconds,
KeePass wipes the information from your clipboard for security reasons. You can
shorten or lengthen the time in the KeePass options.
Conclusion
KeePass makes generating and managing difficult
passwords as easy as possible. Now there is no longer any excuse to say that
maintaining unique passwords is draining and stressful. KeePass makes it as
easy as a few clicks of the mouse.