

By default, Windows ME, Windows XP and Windows Vista included Windows Movie Maker (WMM) for creating and editing home videos. With Windows 7, it became a separate product part of the Windows Live Essentials suite. The latest version was released in 2012 as Windows Movie Maker 2012 for Windows 7, 8 and 8.1.
Depending on your version of Windows, you may or may not be able to burn a WMV file to a DVD from WMM. Windows Vista and Windows 7 both included a free program called Windows DVD Maker, which was sadly removed in Windows 8. Using Windows DVD Maker, you can burn a WMV file to DVD directly from Windows Movie Maker.
If you’re running Windows 8 or Windows XP, you’ll need to use a different set of tools to burn the WMV file as a playable DVD. In this article, I’ll talk about a program called DVD Flick. It’s a free DVD authoring tool that will let you take videos of pretty much any format and burn them on a DVD with minimal effort.
Burn WMV using Windows DVD Maker
The easiest way to get the job done is to use Windows DVD Maker if you are running Windows Vista or Windows 7. There are actually two ways you can go about doing this. If you haven’t started editing your videos together, then you can use Windows Movie Maker to create and edit the movie.
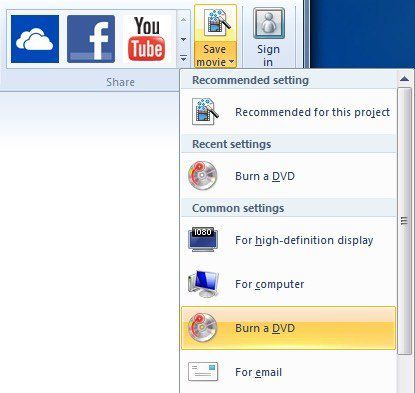
Once you have completed all the editing, you simply click on the Save movie button and you’ll see an option there called Burn a DVD.

You won’t see this option on Windows 8 or Windows XP, as it doesn’t have the Windows DVD Maker software installed. If you already have a WMV file and you just want to burn it to a playable DVD, then you can open Windows DVD Maker directly.

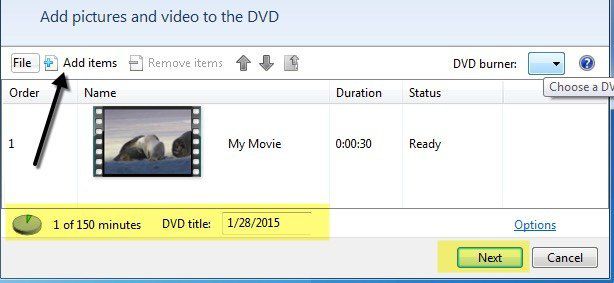
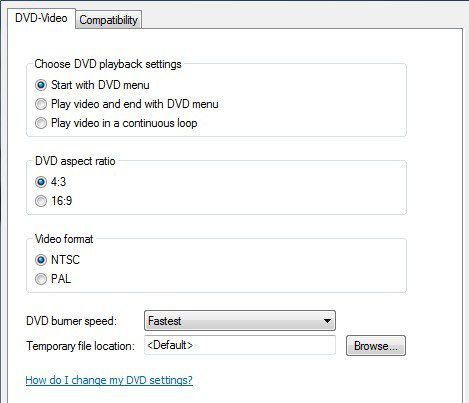
You’ll see a welcome screen where you can click on Choose photos and videos and then you simply click on Add items to add the movie files to your DVD. At the bottom, it will tell you the amount of time left on the DVD and you can also change the DVD title. You can also click on Options and change the video format, playback settings, aspect ratio, and burner speed.

Click Next and choose a menu style for your DVD. You can customize the menu and change the menu text also. You can also click the Preview button to see what the menu will look like before you burn the DVD.

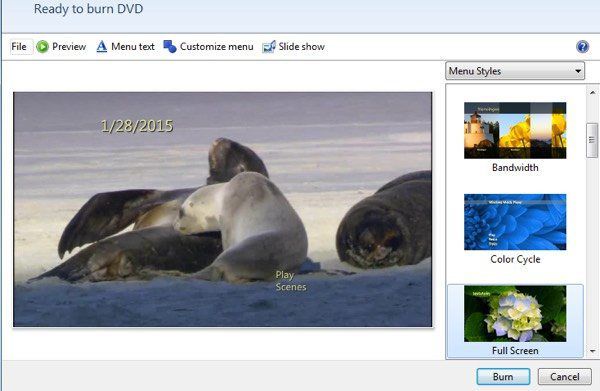
That’s about it. Now just click Burn and you’re good to go. Burning a WMV file is super easy when using WMM and Windows DVD Maker together. Now’s let’s talk about the other scenario.
Burn WMV using DVD Flick
DVD Flick is an awesome little utility for creating playable DVDs for just about any kind of video file. It’s super easy to use and doesn’t contain any malware, spyware or junkware. Once you download it and install it, the main screen will pop up and you’ll be asked if you want to check out the guide before getting started. It’s a good idea to just read over the guide once before you begin.

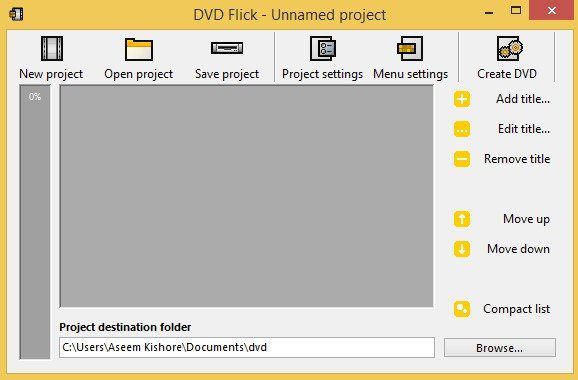
By default, the program starts off with a new unnamed project that is stored in your Documents folder. To get started, you have to click Add title. The naming is a bit confusing, as most people tend to think titles in videos are sections at the very beginning and end of a movie, but here it is any video file you want to add to your project.
Once you add videos, they will show up in the main area and the little progress bar on the far left will show you how much space you have left on the DVD. Once you have added all the videos, go ahead and click on Project settings.

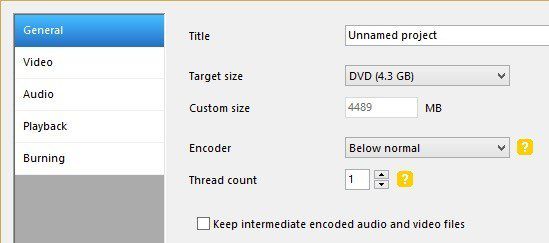
On the General tab, you basically want to give your project a title and also choose the appropriate target size. By default, it’s the standard one-sided 4.3GB size. You can leave the rest alone.

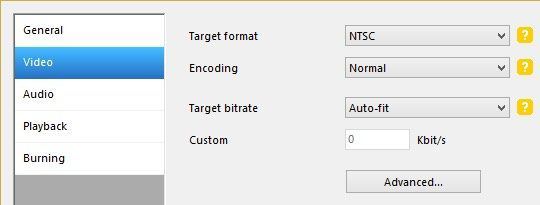
On the Video tab, you want to choose your target format (NTSC or PAL) and the type of encoding. I would leave everything else alone here except for the format option.

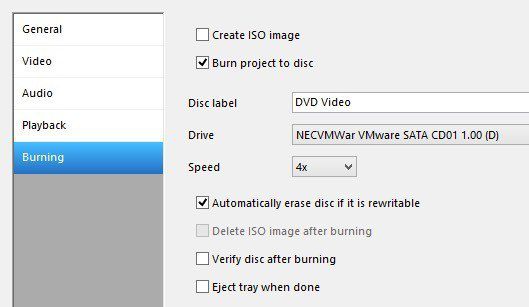
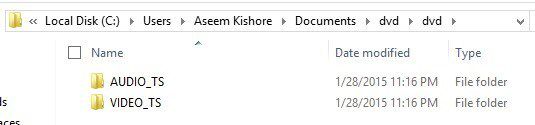
Finally, on the Burning tab, you need to check the Burn project to disc box, give your DVD a label and choose the DVD drive. You can also verify and eject the disk after burning. If you don’t check the burn to disc box, the program will only create the AUDIO_TS and VIDEO_TS folders on the hard drive and not burn them to disc.
On the main screen, go ahead and click on Create DVD to start the DVD authoring process. You’ll get a popup dialog with the progress of encoding video, encoding audio, adding subtitles, etc.


Once it has completed, it should begin the burn process automatically, so make sure you have a DVD already in the drive. You can also navigate to the project folder and you should see the above-mentioned folder created for your DVD.

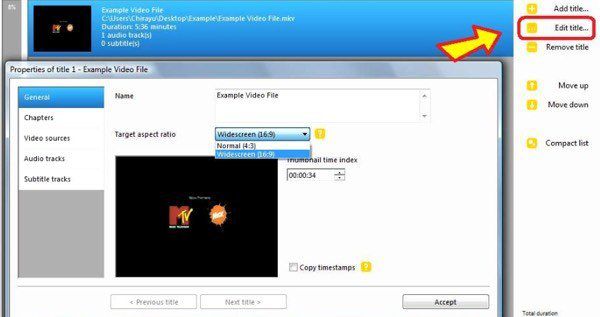
You can also save the project if you want to burn it again or edit it later. The program has a lot of other features that I won’t go into great detail about, but will just mention. The website also has a great guide that covers everything. When you add a video, you can click Edit title to add extra audio, create chapters, add subtitles, change the thumbnail image, join video files, etc.

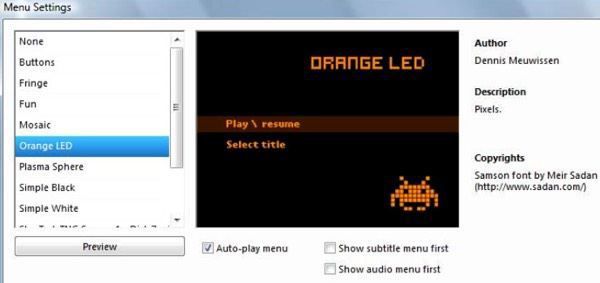
Lastly, click on Menu Settings to customize the DVD menu that will appear when the DVD starts up for the first time.

You should now have all the tools you need to easily create a DVD from your WMV video files or from any video file for that matter. If you have any questions, feel free to comment. Enjoy!