
If you’re a FaceBook user, you may have seen that you get a notification when someone tagged a photo of you and this photo also shows up on your Timeline if you approve it. When you upload a photo to Facebook, you can also tag someone to ensure they get the notification and it’s quite easy to do. In the process, I’ll also explain quickly how you can upload photos to your FaceBook account to create albums or to update your profile picture and cover photo.
To manage your photos and to add tags to photos, go ahead and click on your name at the top, which will load your profile. Then click on Photos.

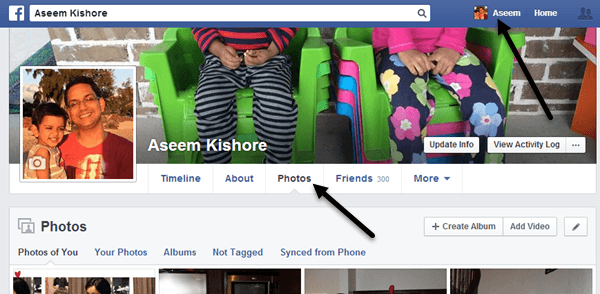
By default, you’ll see Photos of You, which basically includes any photos you’ve uploaded or someone else has uploaded where you have also been tagged. If you click on Your Photos, it will only show the ones you have uploaded even if you are not tagged in them. If you click on Albums, you’ll see all of your albums and Not Tagged will show you photos you have uploaded that have people who are not tagged.


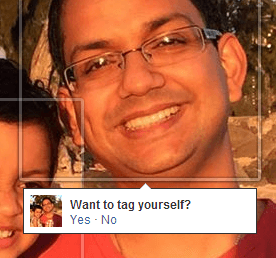
Now to tag a picture, simply move your mouse over the photo and a little box will pop up called Tag Photo. Click on that and you’ll be brought to a page that shows only that photo with comments, etc. You can again hover your mouse over the photo and it will automatically bring up boxes around any faces in the picture. If Facebook recognizes your photo, it’ll ask if you want to tag yourself. Yes, Facebook can figure out who you are and will automatically recognize you in pictures you upload!

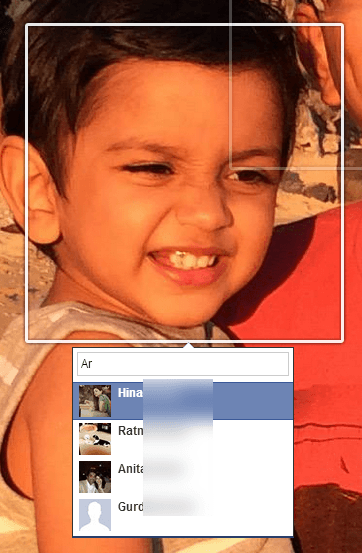
If the tag is for someone else, you’ll see a little box pop up where you can start typing in a name. It will automatically bring up a filtered list of your friends.

With FaceBook, every photo that you upload has to be in an album, even if you didn’t create a specific album. For example, if you post a status update and include a photo, it goes into the Timeline Photos album. If you upload a photo from your phone, it goes to the Mobile Uploads album. There are also Profile Pictures and Cover Photos albums.

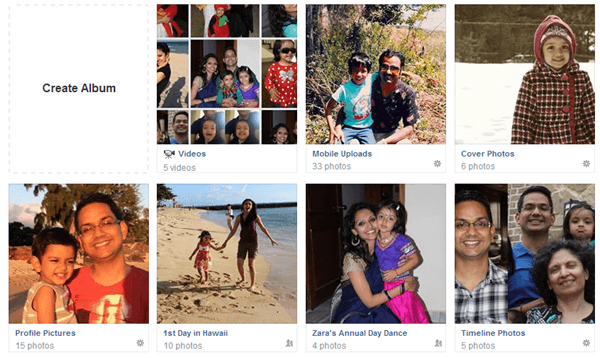
If you want to create an album, you either click Create Album like in the image shown above or click on the Create Album button at the top. You can upload as many photos as you want per album, but it’s usually a good idea to create a new album for a related set of photos, i.e. wedding party, trip to Vegas, cruise ship, etc. Once you have selected the photos to upload, they will automatically start being uploaded and in the meantime you can start adding your album info.

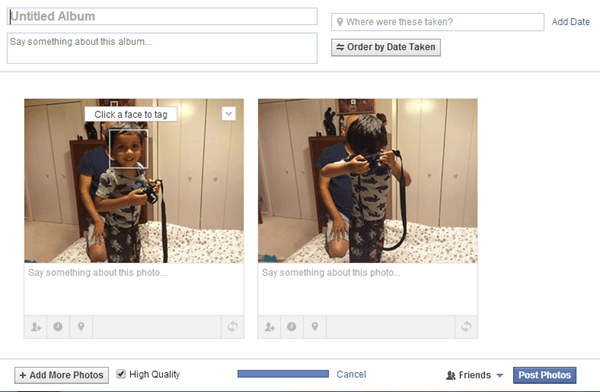
Give your album a title and optionally you can add a description and a location. You can also click the Order by Date Taken button if you want them to be automatically sorted by date. If not, you can simply move them around to new positions by clicking on the grey bar you see at the bottom of each photo and then dragging it around.
You can also leave a comment for each individual photo and even give each photo it’s own date and location info. The little button to the far right on the grey bar lets you rotate images. To tag a person in a photo, just hover your mouse over any face and click to tag. At the bottom, you can click the Add More Photos button to add additional photos to the album and you can check High Quality if you want them to retain their high resolution when uploaded.
Finally, the default sharing is set to Friends, but you can click the little arrow and choose from one of your lists or create a custom set of people. Finally, click the Post Photos button and your album will now be posted to your profile for all to see.
To edit your cover photo and profile picture, just go to your main profile and then click on the little camera icons.


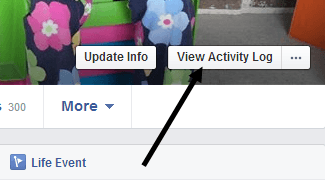
Lastly, when it comes to tags, you can see which photos you’ve been tagged in and you can also review tags before they appear on your profile if you’ve enabled Tag Review. To see all of this, click on the View Activity Log button that is located on your cover photo.

Click on Tag Review or Posts You’re Tagged In to see which posts you have been tagged in and which ones are still under review.

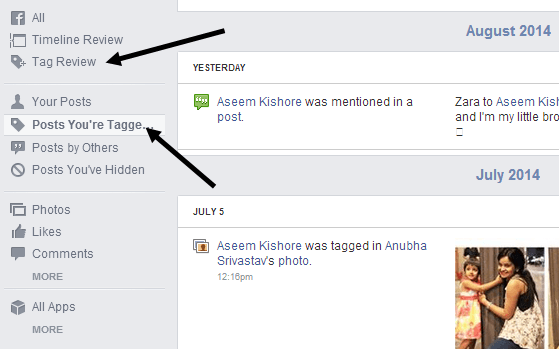
When you click on Tag Review, you can choose to enable or disable the feature if you like. By default, it seems to be turned on. It’s a good idea to check here once in a while because I had over 50 tags I hadn’t approved and therefore they never showed up on my profile. If you have any questions, feel free to post a comment and I’ll try to help. Enjoy!