
Back in the early days of the internet, when things were more easy-going, a password was all you really needed to secure your account. But these days, as technology has advanced at a rapid clip, a password is no longer enough. This is why everyone must set up and use two-factor authentication as an additional layer of security. Google Authenticator can help with that.
Two-factor authentication (2FA) also goes by Two-Step Authentication and Multi-Factor Authentication. But no matter what name you use, it all works the same way, and you would be silly not to use it if a website supports it.
It would mean the difference between being hacked and not being hacked. All of the major websites, such as Gmail, Facebook, Twitter, and Dropbox have 2FA for their users.


What Is Two-Factor Authentication & How Does It Work?
2FA is a second layer of security for your online accounts (your regular password being the first layer). It is a code which must be entered into the website in question – after your password – to prove you are the rightful owner of the account.
There are three methods of obtaining a 2FA code – using an authenticator app like Google Authenticator, getting text messages on your mobile phone (which is ill-advised due to SIM card cloning) and a YubiKey. The securest method is an authentication app, so today we will show you how to set up and use Google Authenticator, a popular and easy-to-use app for 2FA.


What Is Google Authenticator?
An authenticator app is a smartphone app, which automatically generates new 2FA codes for each of your configured accounts every 30 seconds. You must enter the correct number shown on the authenticator screen into your website login box, before the code expires and a new code is generated in its place.
If you get the code wrong, say three times in a row, you will be locked out for a certain period of time.


The first thing to do is to download and install the Google Authenticator app for your smartphone. It is available for free for both Android and iOS. Ignore the bad reviews. Some people complain about how “basic” it is compared to a rival app, but sometimes basic is the best. You don’t need to overcomplicate things.
How Secure Is Two-Factor Authentication?
If you don’t use 2FA, a potential hacker would just need your password and then they would be into your account. Considering all the things people keep in their email these days (credit card details just being the start of it), it would be a disaster if a hacker got in.
But if you used 2FA? Well then that changes everything. In order to get the 2FA codes, the hacker would need to be in physical possession of your smartphone and know the PIN to your phone. They would then need to have Google Authenticator open at the right time to get the right code before it expired in thirty seconds.


Granted, having to enter the code might be seen by some to be a bit of a pain in the ass but taking an extra ten seconds to enter a second code is infinitely more preferable to being hacked and having your private data stolen.
Getting Started With Google Authenticator
We’re now going to show you how to set up your first 2FA-configured account. Many sites offer 2FA – just look in the Security section of the site in question. Or check this site which maintains a list of who offers it and who doesn’t.
For our example, we are going to show you how to secure a Gmail account with Google Authenticator. The benefit of using it with Google is that 2FA will protect your entire Google account, across all Google-owned services such as Gmail, Drive, Calendar, YouTube, and many more. So it’s a good place to start.
Setting Up Google Authenticator On Google
- Go to your Google Account settings page and sign in.
- On the page that follows, click on Security in the left-hand sidebar.
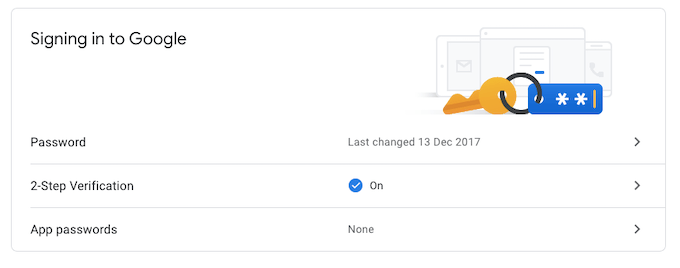
- Scroll down to Signing into Google and on the right, you’ll see an option for 2-Step Verification. Click on that now.

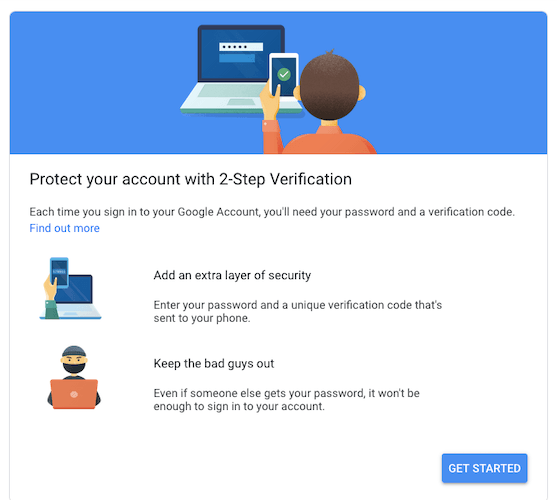
- On the next screen, log in again and then click the blue Get Started at the bottom.

- On the next screen, you will be asked to choose an identity verification method when setting up 2FA. Their clear preference seems to be a “Google prompt” sent to the Gmail app on your phone or tablet. If you don’t have the Gmail app installed, or you would prefer not to use it, you can instead opt for a phone call, SMS message, or use your security key. This requires giving Google your mobile phone number.
- Once you have responded to the Google prompt and entered the verification code, you will be asked whether or not you want to turn on two-factor authentication. Click the blue TURN ON button and it will start up.
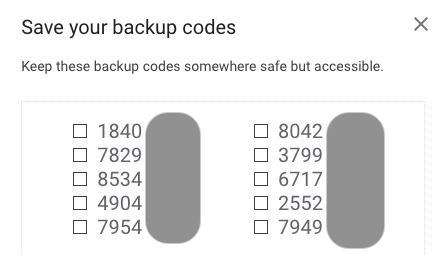
If you now scroll down the page, you will see two sections – Backup codes and Authenticator app. These are the next two sections to set up.
- Click on Backup codes and a small box will open with ten codes. Obviously I am blurring part of my codes so you can’t see them and use them! Download the list and keep it in a very safe place. If you lose your phone, these backup codes are your only way into your account.

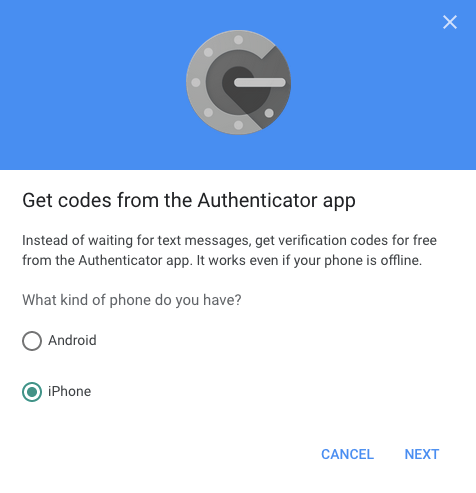
- Now go to the Authenticator app section. First, you will be asked what type of phone you have.

- You’ll be asked to sign in again. Once you’ve done so, a QR code will appear at the top of the screen.

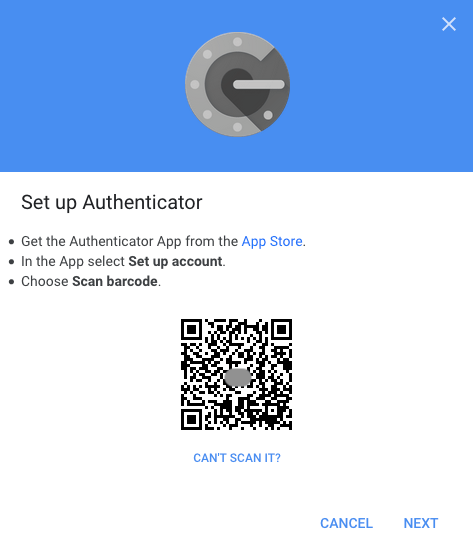
- Now open the Authenticator app on your phone and at the top, you will see a plus icon at the top right. Tap on that.


- At the bottom of the Authenticator screen, you will see two options – Scan barcode and Manual entry. Choose Scan barcode.


- Point your phone screen at the QR code and it will immediately buzz. A 2FA number will now appear on your Authenticator screen.

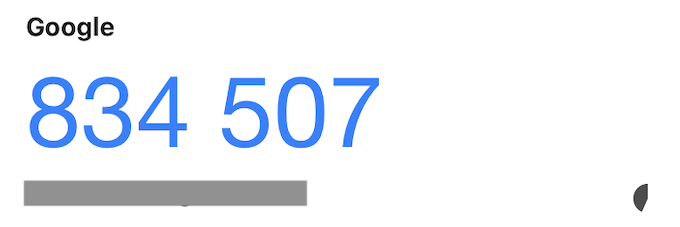
- You need to enter this number into the Authenticator section of your Google account. Once you’ve done so, 2FA is set up. From now on, everytime you log into your Google account, you will be prompted for a 2FA code, but you can whitelist “trusted devices” such as your private home computer.
As you can see, two-factor authentication is not rocket science, especially with the Google Authenticator app. It just requires a bit of poking around in the settings, and a bit of setup with your phone.