

It’s always a terrible tragedy when someone loses something important they were working on because they didn’t save their document properly. This happens more often than you would think to Excel and Word users!
Luckily, Microsoft has added a lot of features in the last couple of versions that help reduce the chances of losing data due to crashes, power outages, accidental deletions, etc. One feature is called AutoRecover and the second, less-commonly known feature, is called AutoBackup.
In this article, I’ll talk about how to configure both options so that your data is as safe as possible. I would also like to mention that the latest versions of Office allow you to save documents directly to OneDrive, which is a good option to consider because you’ll still be able to access your work even if your hard drive fails.
Excel AutoRecover
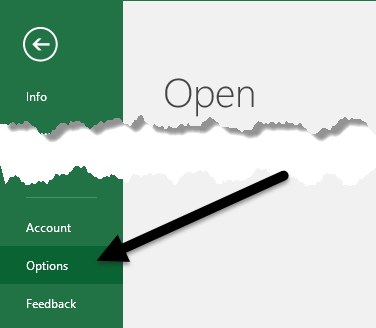
The Auto Recover feature is turned on by default and basically saves your document automatically into a temporary location after a set time interval. To view the AutoRecover settings, click on File and then Options.

Click on Save in the left-hand menu and you’ll see the AutoRecover option under Save Workbooks.

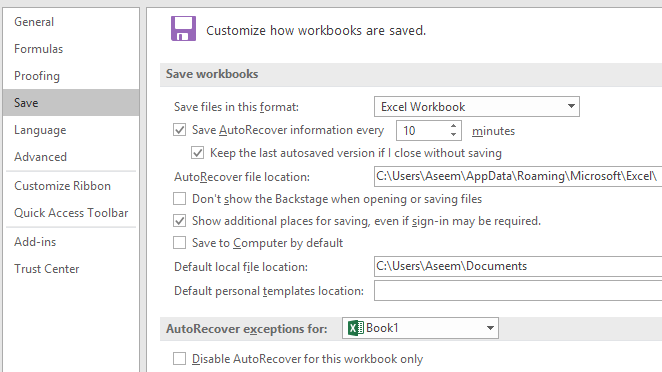
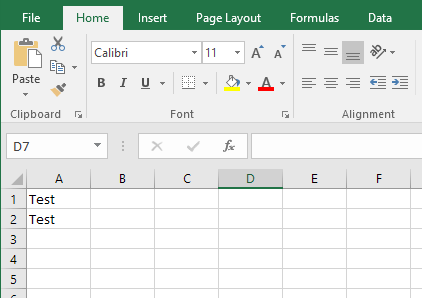
By default, AutoRecover information is saved every 10 minutes. In addition to the interval, Excel has to be idle for 30 seconds before the data will be saved. Also, the autosaved information is saved in the AutoRecover file location listed here. So how does it work? Basically, let’s say you have a worksheet like the one below and you have it saved.

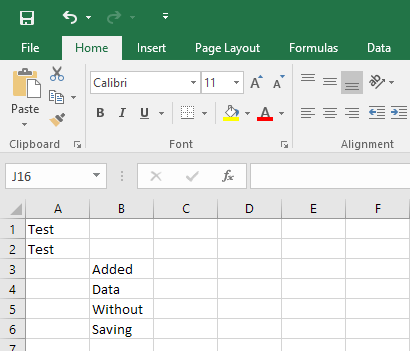
Now let’s say I add the following data to the Excel spreadsheet and wait about 10 minutes without saving my document. Since the AutoRecover interval is set for 10 minutes, you need to wait at least that long for the data to be saved.

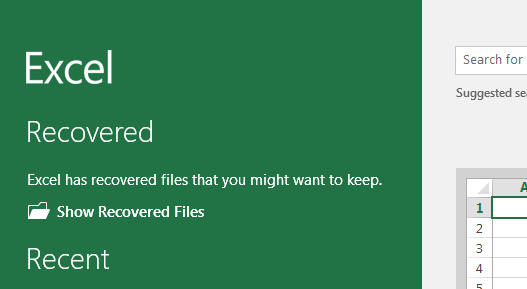
In my case, I simulated an Excel crash by opening the task manager and killing the Excel process. After that, I reopened Excel and immediately saw an option called Show Recovered Files.

If you click on that, it will bring up a list of Excel files that can be recovered. In my case, it had the original file, which had data in just A1 and A2, and it also had the AutoRecovered file, which included the data that I had not saved to disk.

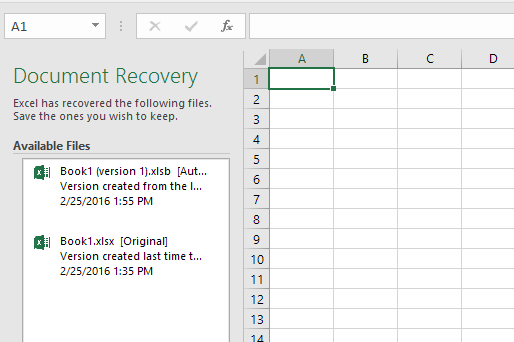
Clicking on any of the items in the list will open another instance of Excel showing the data in that particular file. Overall, this is a really useful feature for those times when you didn’t save all your work, but Excel ends unexpectedly.
The major downside to this feature is that the AutoRecover data is stored on the same hard drive as your file, so if something happens to your hard drive, everything will be gone. You can change the location in the settings above to a separate hard drive or even to a network location, which I highly recommend.
Note that AutoRecover information is also deleted automatically by Excel in the following circumstances:
- You save the file manually or by using File – Save As.
- You close the file or quit Excel (whether you save the file or not)
- You turn off AutoRecover completely or for just the workbook
So basically, whenever you save the file, it gets rid of the AutoRecover data. In addition, if you manually quit Excel and choose not to save the data, it will delete the AutoRecover data. Just keep that in mind when using this feature. If you are a heavy Excel user, I would suggest setting the AutoRecover interval to something like 2 or 3 minutes instead of 10.
AutoBackup
Another feature that not many people really know about it is AutoBackup. To use it, you have to first go and save your file to get to the Save dialog box. If you already have a saved Excel document, go to File and then Save As and choose a location. When you do this, it’ll bring up the Save As dialog.


In the dialog, click on the Tools button that is to the left of the Save button. You’ll see a couple of options, one of which is General Options. When you click on that, a small window will appear with some more options.

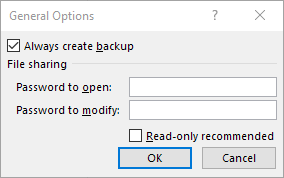
Go ahead and check the Always create backup box. Click OK and now when you save the file, an Excel backup file will also be created with a .XLK extension. Note that the first time you do this, the files will be exactly the same. If you make edits to the original file and then save it again, the backup file will still remain the same (the original data). The third time you save it, however, the backup file will be updated with information up to the second save.
Basically, the backup file is always one version behind the current version. So if you made a bunch of changes, saved your file and then wanted to go back to the version that didn’t have those changes, you could just open the backup file.
The file is saved in the same location as the original file and there doesn’t seem to be a way to change that. This feature doesn’t add a whole lot of safety to your document, but it’s good in certain circumstances.
Enabling these backup and recovery features in Excel will hopefully save you from losing important data. It’s always a good option to use cloud storage (like OneDrive) as an extra safety net in case your computer catastrophically fails. If you have any questions, feel free to comment. Enjoy!