
All web browsers now have a privacy feature called private browsing that lets you browse websites without your history being tracked locally on your computer. I’ve already written about how to enable private browsing on IE 11 and Microsoft Edge and in this article we’ll talk about Firefox.
Note that in Firefox, private browsing works a bit differently than other browsers. In addition to not recording your web browsing history, Firefox also enables tracking protection. This will block parts of sites that try to track your browsing history across multiple sites.
Ever visit a travel website to do some research on a vacation and then suddenly see ads for that same place while browsing other websites? That’s you being tracked as you browse. Firefox will prevent this when you are in private mode.
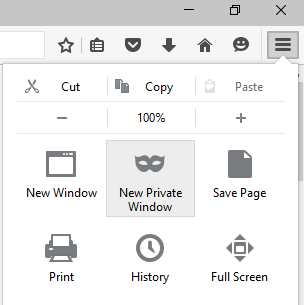
To enable private browsing in Firefox, click on the hamburger icon at the top right and then select New Private Window. You can also just use the CTRL + SHIFT + P keyboard shortcut.

You will be able to tell you are in private mode because of the mask located in the top right of the window.

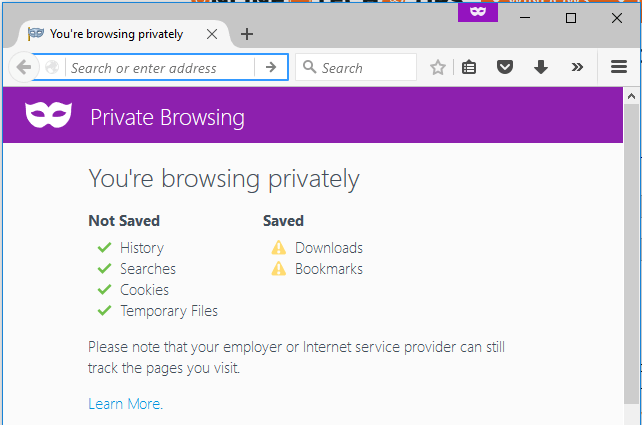
You’ll also get a new window showing you what is saved and what is not saved while browsing in this mode. As with all private browsing, your activity is not tracked locally in your browser, but your ISP, employer or even software installed on your system can possibly track everything you are doing.

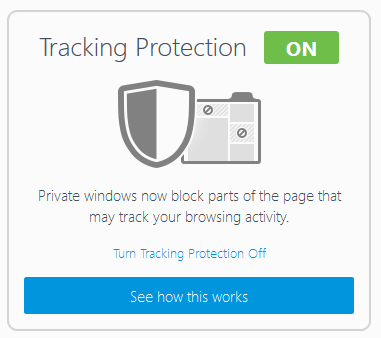
As mentioned earlier, tracking protection is enabled also, but can be turned off. By default, it uses the list provided by Disconnect, which is an online security and privacy product. Firefox uses the standard list, which blocks common advertising trackers, social sharing trackers and analytics trackers.
If you want even more protection, you can enable the strict protection list, which will block all trackers. The only issue with this is that it might break some sites since it blocks a lot of stuff. You can enable the stricter list by clicking on the hamburger icon, then clicking on Options and then going to Privacy.

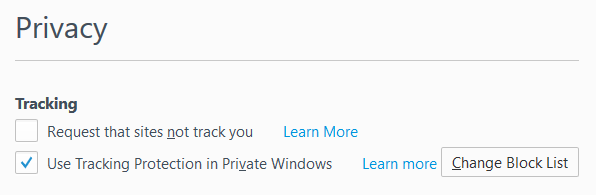
Next to Use Tracking Protection in Private Windows, click on the Change Block List button.

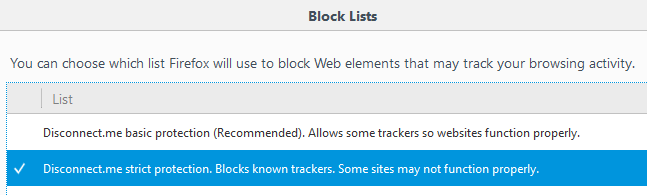
Now go ahead and click on the Disconnect.me strict protection list and then click Save Changes. So what exactly does this do? Well, here’s an example of my own website below.

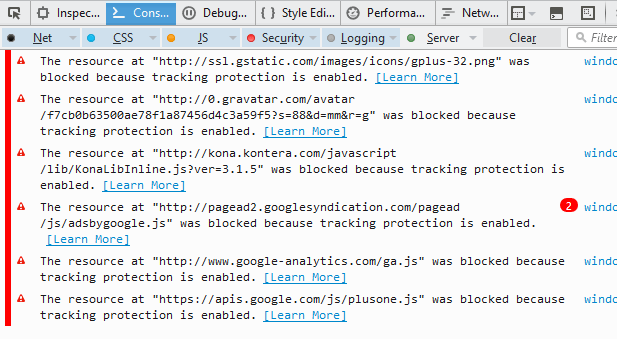
If you open up the web console, you’ll see exactly what resources get blocked. In my case, all the ads from Google are blocked, Kontera, the Google Analytics script, and Google+. Your browsing will definitely be faster and more private using this mode. Obviously, it hurts sites that make their money off ads like mine, but that’s your choice.
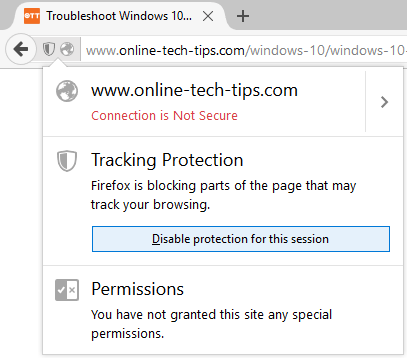
If you need to allow trackers on specific sites, you can click on the little shield icon in the address bar and then click on Disable protection for this session.

Finally, if you want to enable private browsing mode all the time in Firefox, you can do that by going to the same Privacy tab under Options and then choosing Never remember history next to Firefox will: under the History heading.

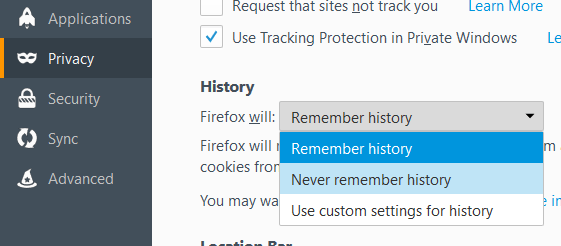
Choosing this option is the same as private browsing mode. The only difference is that you will not see that purple mask icon in the browser window. Firefox will have to restart in order for the changes to take effect. You can also click on Use custom settings for history and then check the Always use private browsing mode box.

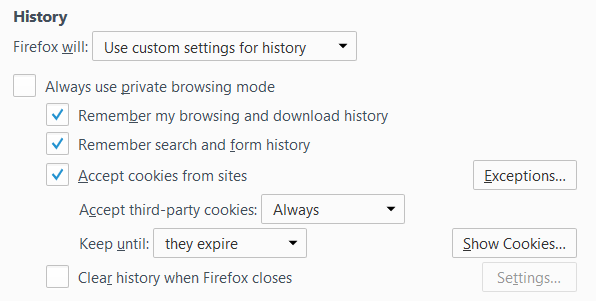
This is exactly the same as choosing Never remember history, so I’m not sure why they have the option here also. I’m guessing it’s more clear to users and therefore they feel safer. Private Browsing mode will also delete all cookies when Firefox is closed. Other data that is not stored include form and search bar entries, passwords, list of downloads, and cached web content (temporary Internet files).
Overall, Firefox’s implementation of private browsing is really good from a privacy and security perspective and definitely worth using when you need to keep your browsing history private. If you have any questions, feel free to comment. Enjoy!