No wiki is larger or more popular than Wikipedia. Since its creation, Wikipedia has had more than one billion edits, across 17.6 million articles, from 27 million users. The thought of reaching such a pinnacle by making your own Wikipedia page can seem daunting, as it should, but that shouldn’t deter you from wanting to carve out your own online wiki niche.
Making your very own Wikipedia-like website can seem like a large undertaking, and to be honest, it is. It will take a lot of time, foresight, and research to get yourself on the right track.

Once you understand what it takes to make a wiki successful, you will need to know where to begin once the site is created. This will include how to create pages and add text, images, and videos to them, the differences between page editors, and how to enable collaboration on the site.
How To Make Your Own Wiki Page
Before you can create a wiki site, you’ll need to choose how you want it hosted. There are plenty of options out there depending on how much you’re willing to put into it. Free options include Windows SharePoint, MediaWiki, and Wikia, which allow you to create your very own wiki site from scratch.
If you’ve got the capital, paid services like Same Page will offer you tools and a few templates to help get you started. TikiWiki is a great software option for anyone who wants to host a private wiki on a business or personal server.


As a wiki is just an ever-evolving site where colleagues and strangers can collaborate on a primary focus, Google Sites, and even WordPress, are also potential hosts.
You’ll want to make your choice based on why you need the wiki, how many people are going to be involved in the project, and how much time you have to dedicate to the setup and maintenance of the site. Security is also a concern for anyone with a website, especially when self-hosted.
Moving forward in this article, we’ll be using Wikia, also referred to as FANDOM, for our walkthroughs.
Let’s Create a Wiki Page
FANDOM is generally seen as a collection of wikis on topics primarily comprised of media and entertainment. It’s also incredibly user-friendly for beginners.
Here, you’re more likely to find wikis based on trending movies, a favored comic book character, and videogames than you are historical events and things with political leanings. However, a wiki is a wiki and you should be able to craft one that suits your needs.


To begin:
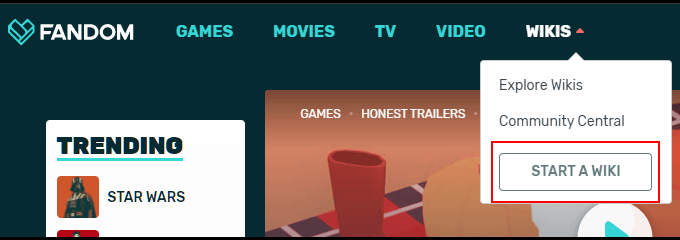
- Scroll over the WIKIS tab and click the START A WIKI button.

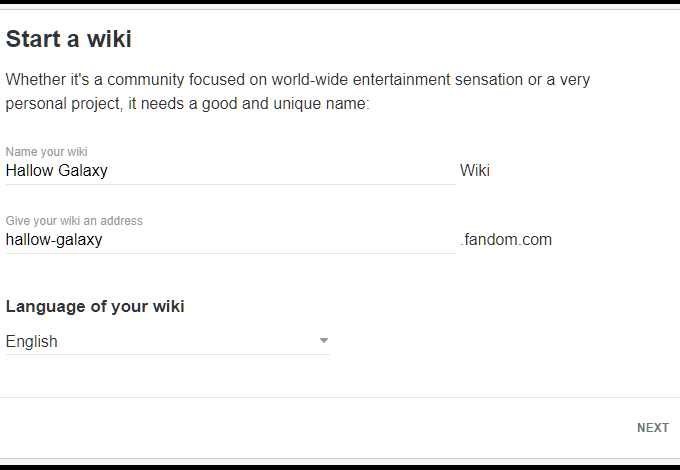
- Decide on a wiki name, domain name, and preferred language for your wiki. Click NEXT when finished.

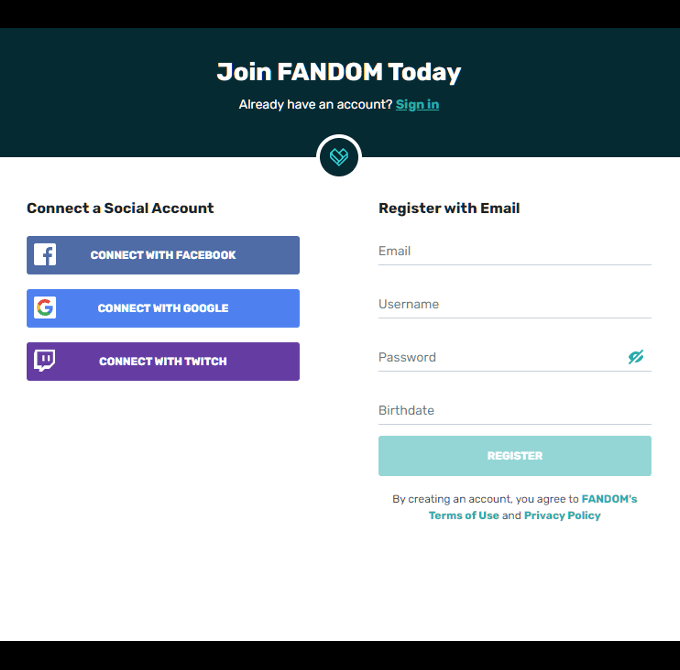
- At this point, you’ll need to sign in to your account if you haven’t already. For those who need an account, you have the option to create one via social media account or fill out a standard registry form.

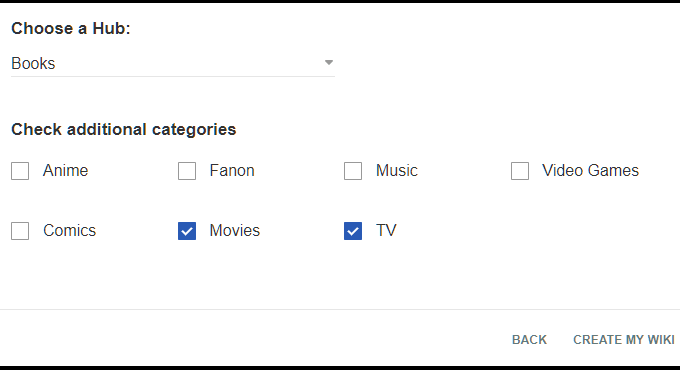
- Next, you’ll need to add a description for your wiki letting readers know what it’s about. Select what hub it fits into and any additional categories you feel are necessary, before clicking CREATE MY WIKI.

- Here is where you can choose a quick theme for your wiki. There are a few different choices, primarily changing the color of the page background, text boxes, and fonts.


- You’ll be able to change this at any time so your selection is not set in stone.
- Once a theme has been selected, click SHOW ME MY WIKI.
- You’ll be greeted with a small congratulatory window that will ask if you’d like to begin creating new pages. We’ll skip this for now and focus on the main page instead.

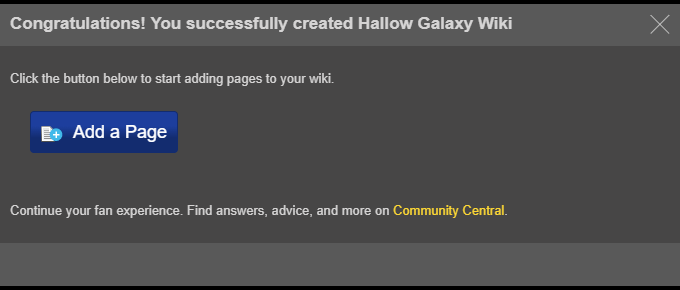
- Click the ‘x’ in the top right corner of the window to close it out.

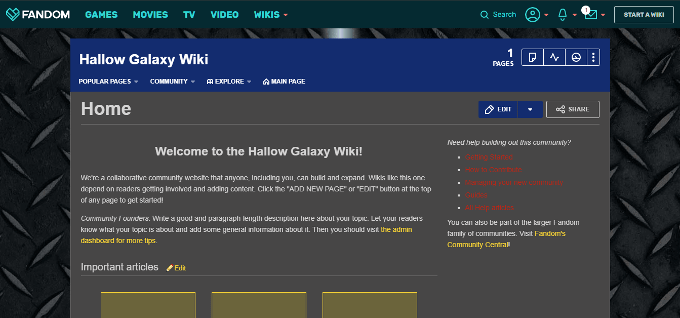
I’m On The Home Page, Now What?
At this point, you’re either super excited to get things started or more confused than ever. Or both. The main page of your wiki has a menu bar with a few different tabs you’ll want to get acquainted with before moving on.


The menu bar contains three important sections that we’ve color-coded to make it easier for you.
Red Section
This portion of the menu is less important in the earlier stages of your wiki’s development. It will grow more important once things have been added, your community grows, and as the wiki expands.


- Popular Pages – This tab will show you what pages are being visited most often on your wiki.
- Community – Displays the conversations happening within your wiki’s community and the most recent blogs that have been written.
- Explore – You can jump to a random page within your wiki, take a look at what’s been happening on your wiki, and check out at all images and videos that have been posted.
- Main Page – A quick link that will bring you back to the main page.
Green Section
More important at all stages of development, this menu provides helpful options to the continued growth of your wiki.


- (1) Add new page – The bread and butter of any wiki is the ability to continuously add new pages. Every new page provides new information to your readers about the topic. You’ll be clicking on this icon a lot.
- (2) Wiki Activity – Clicking this icon will send you to a page for recent wiki activity. This can be anything from additional information added to an existing page, a newly created page, or comments from the community.
- (3) Admin Dashboard – Anything you need to know about or have access to when it comes to your wiki can be found here.

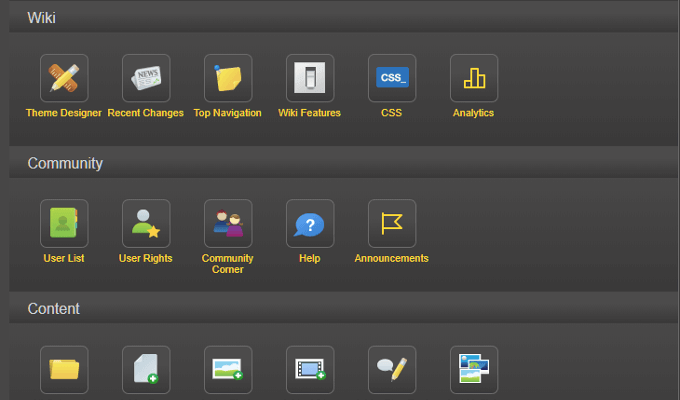
- The General tab provides access to everything from a theme designer and CSS options to a full user list with provided rights to basic content additions for edits and the like. The Advanced tab is more of the same only broken down into smaller, specified links for quicker access.
- (4) More Menu – Add new images and videos to the wiki gallery and look up any recent changes that have taken place.


You’ll notice a page counter to the left of this section. This will keep track of the number of pages your wiki currently has publicly displayed.
Yellow Section
The yellow section contains the links specific to whichever page you’re currently working on within your wikipedia site.

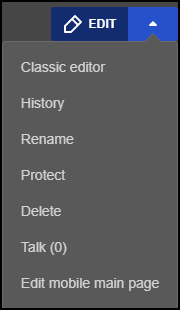
- Edit – Should be rather self-explanatory. This button will allow you to edit the current page. By default, you’re provided with a visual editor version of the text editor. More on this later.


- Dropdown Menu – This menu houses a few different links that can prove very important in moving forward. Here, you can rename the page, protect the page (and specific sections) from further edits, delete the page, and even edit the visuals for how it will look for mobile devices. There is also an option to use the Classic editor, which is the source editor, instead of the default visual editor.
Main Page First Steps


The main page should contain content that is relevant to the topic of your wiki. This includes adding a short paragraph, detailing to your readers what your community is about and what they can expect to find within it.
To get started with some edits, click the EDIT button found in the yellow section previously discussed. Your page should look something like the image below.
We’ll get into the differences between visual and source editors later. For now, we’ll continue with the visual editor as it’s the more beginner-friendly option.

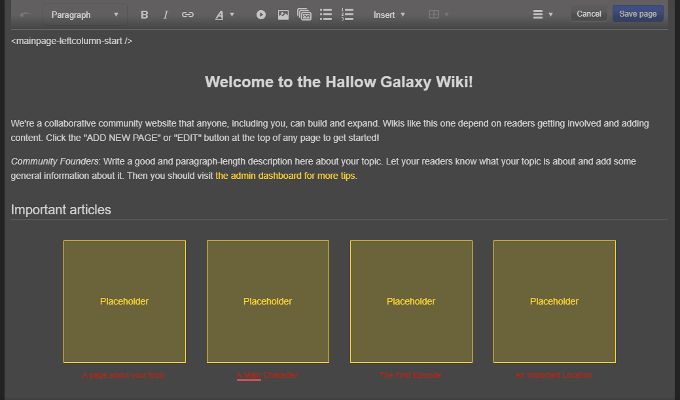
Aside from the visual editor menu bar, you’ll also notice something above the intro title at the top left section of the page. It reads as <mainpage-leftcolumn-start />. Anyone familiar with web design will recognize it as a tag similar to <div> which indicates the beginning of a section or column on a page.
Scroll further down and you’ll see similar text <mainpage-leftcolumn-end /> which indicates the end of a section or column on a wiki page. Everything written within this section will be situated in the left-most column of the main page.
To understand my meaning, by default, the pages on FANDOM are divided into two columns –a left and a right– in a ⅔ x ⅓ split. So, your left column will contain the bulk of the information on a page while the right side is generally reserved for quick links and statistical information.

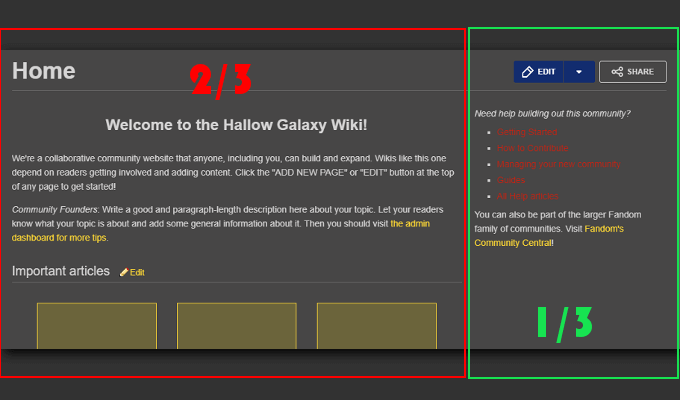
Do yourself a favor and keep these tags intact. Their removal could cause issues with how the design appears on all devices and browsers. Remember that an ugly main page is likely to result in less viewership.
Everything within these tags is fair game. You can change any of the default information and save it to have the edits reflected on the actual page for all to see. This includes images and videos added by clicking the appropriate icon in the visual editor menu bar.
Visual Editor vs Source Editor
The use of the visual editor allows for easy mode content that can be set within the given parameters of the editor. This means that you only have as much control over how you edit content as the editor allows. It’s very minimal but for a beginner, it can be your best friend.

To use the source editor, knowledge of wikitext is encouraged to make good use of all that it offers. Using the source editor will provide you with far more control over the look and feel of your pages and the content placed on them than is capable of the visual editor.
This is the key difference when it comes to choosing one over the other. Are you okay with playing within a limited sandbox or does the ambition for your wiki require more control?
Regardless of whichever you choose to begin with, the source editor, and wikitext, is something that every wiki editor should strive to learn and understand. Wikitext, also referred to as “markup”, is not only used on FANDOM sites, but with practically every wiki host site available.
You can find a complete list of markup text formatting on FANDOM in the help subdomain.

Templates
Another tally to add to the column of source editor would be the ability to create and save custom templates. These templates can then be used to create page consistency across your entire wiki without the need to redo each page over again from scratch.
To learn more about templates, FANDOM help has provided a comprehensive walkthrough that should help get you started.


User Management
Adding multiple contributors to your wiki is what it will take in order to have it grow and flourish. Once you’ve put together a team, you can add them individually to your wiki, providing them specific user rights.
To do this:
- Navigate to the Admin Dashboard and click User Rights located in the Community section.

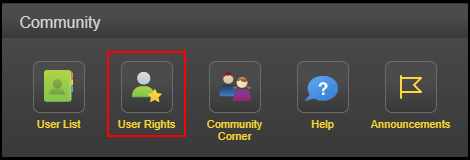
- Enter in the user’s name that you want to add to the wiki, and click Edit user groups.
- The team member you intend to add will have to have previously registered for an account prior to being added.
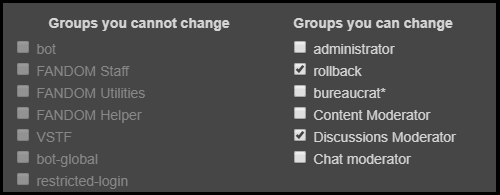
- Place a check in the box(es) of the group(s) you would like to add the user to, provide a reason for this change (optional), and then click Save user groups.

