
For many years, Wunderlist was one of the most popular and well-known to-do apps online. It was founded by Christian Reber in 2011, with a Pro version released in April of 2013.
In June of 2015, Microsoft acquired Wunderlist, a direct competitor of Microsoft’s own to-do app known simply as Microsoft To Do.


At the time, Wunderlist had an impressive user base of 13 million users. This author was one of them.
The Old Microsoft To Do
When Microsoft first acquired Wunderlist, Microsoft’s offering (To Do) paled badly in comparison. Most of the more advanced features offered in Wunderlist Pro were nowhere to be seen in Microsoft To Do.
Since then, Microsoft worked gradually on integrating those advanced features into Microsoft To Do, in the hopes that by the time they shut down Wunderlist, all of its users would have willingly migrated over.
Today, Microsoft To Do is everything Wunderlist ever was, and more. In this Microsoft To Do review, you’ll learn about all of the features in the app and how to use them.
A Microsoft To Do Review
When you first open a Microsoft To Do account, the app won’t look like anything special, but once you start using it you’ll find that there are features hidden throughout.

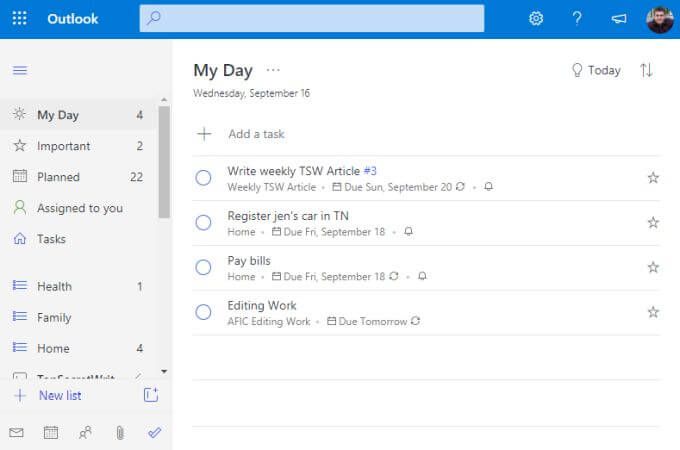
Let’s explore the left navigation pane, one section at a time.
- My Day: Where you assign the most important tasks from your lists that you need to get finished today.
- Important: Flag important items, no matter when they’re due.
- Planned: All of your tasks, sorted in order by date due.
- Assigned to you: See tasks that other Microsoft To Do users have assigned to you using your email address.
- Tasks: Any tasks you’ve added using the Microsoft Tasks app.
- Lists: The entire bottom of the left navigation panel includes all of the lists you’ve created to organize your tasks.
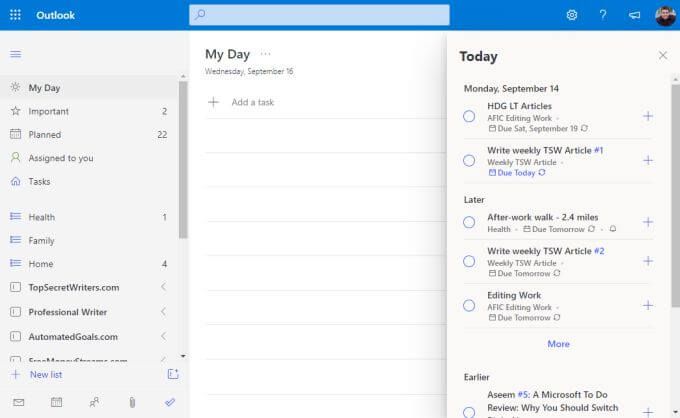
The center panel is where the tasks will be listed whenever you select any view in the left navigation pane. The right side may also contain some items. For example, in the My Day view, you can select Today at the upper right of the window to see all tasks that are either due or you’ve set a reminder for, organized by date.
The Planned Section
When you select Planned in the left navigation pane, you’ll see all tasks due today, as well as upcoming tasks. This is where you’ll likely spend most of your time in Microsoft To Do, so it’s worth exploring first.

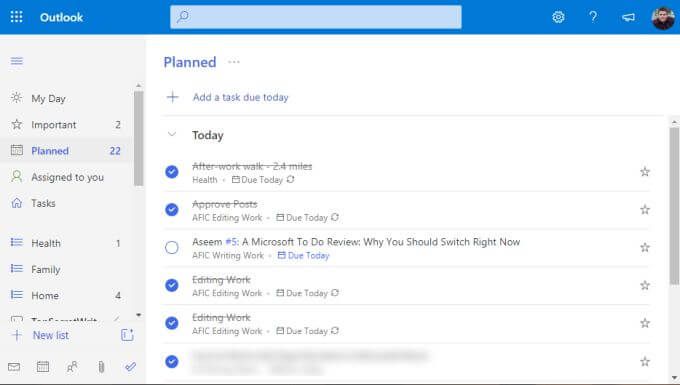
As you organize tasks into their individual lists (which we’ll get to below), you’ll assign tasks due dates and reminders. Anything with a due date or reminder of today, will show up under the Today section here.
What’s interesting about the approach used in Microsoft To Do is that the order doesn’t strictly go day by day. It actually follows somewhat of a Getting Things Done (GTD) “Now, Next, Later” model.

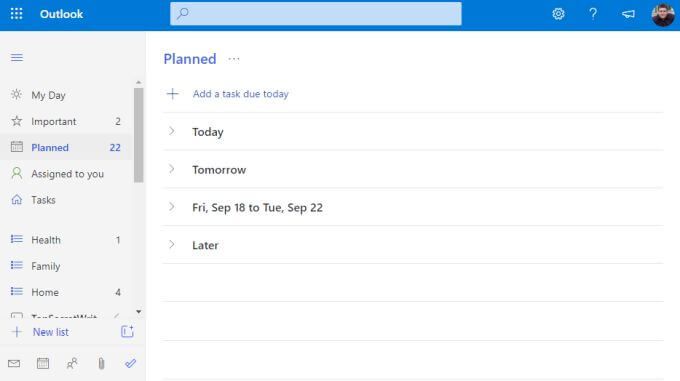
The sections aren’t specifically named this way, but you can see the concept is the same. You’ll focus on Today during your daily work. If you get through everything, you can start on Tomorrow, or pick from any of the later tasks in the other two sections.
The My Day Section
You might be thinking at this point that you’d just always use the Planned section and work from top to bottom.
But in the real world, this doesn’t work. Especially if you have tasks due a month from now that you have to work on a little bit over time. These are the kind of tasks you might have marked as Important by selecting the star at the right side of the task.


The point is that on a schedule that works for you, maybe each morning during your coffee or each evening before you’re ready to head home from work, you look through the next list of tasks you really want to tackle and add those to the My Day section.
You do this by right-clicking the task and selecting Add to My Day.

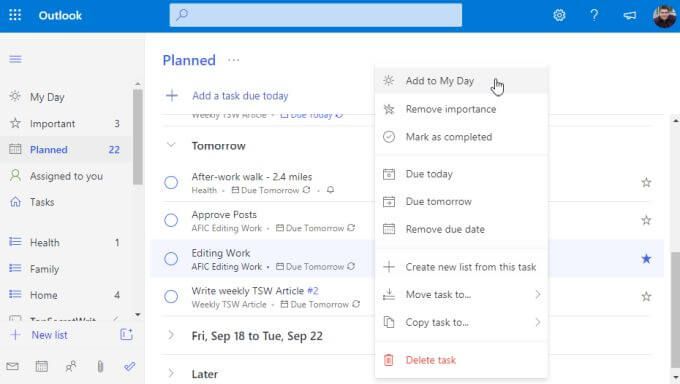
Then, when you’re ready to start working, just select My Day and start working through your list.

You can rest assured you’re working on the most critical items you wanted to accomplish.
Creating New Lists and Tasks
How do you get all of these lists and tasks added in Microsoft ToDo? Lists are a collection of organized tasks. They’re a great way to keep your tasks grouped by project, company, theme, or whatever way you want to organize them.
To create a new list, just scroll down to the bottom of the left navigation panel and select the + New list field. Type the name of the list, and press Enter.

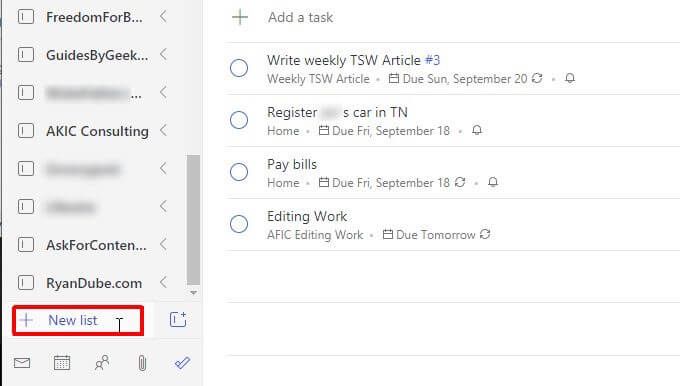
This list will show up in the left navigation panel with a blue list icon to the left of it. For example, there are three lists displayed below for Health, Family, and Home.

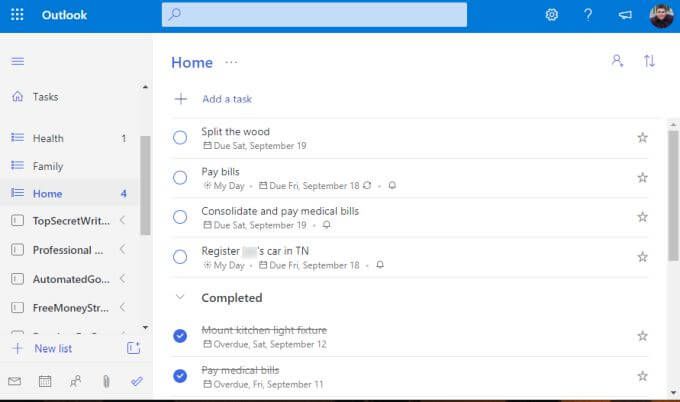
To create a new task inside a list, just select the + Add a task link and start typing. Press Enter when you’re done.
To edit task details, just select the task and a new panel will open on the right.

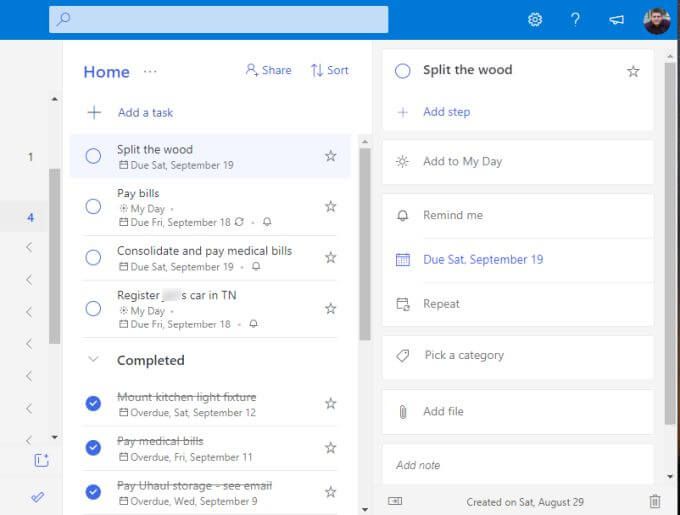
You can add all of the following details to any task in Microsoft To Do.
- Add individual sub-tasks (steps) involved in completing the task.
- Add the task to the My Day section.
- Create a reminder for the task.
- Set a due date.
- Put the task on a recurring schedule.
- Apply a category to the task.
- Attach a file.
- Add a note or comments.
Depending on when you’ve made it due or set reminders, Microsoft To Do will automatically assign the task into one of the appropriate scheduling folders at the top of the navigation pane.
Creating Task Groups
One of the most powerful features in Microsoft To Do is a feature that any good to-do app out there should include. That is a folder or group for task lists.
Consider a scenario where you’re launching a new side business buying, renovating, and reselling old houses. For this kind of business you’d need a list of tasks for your real estate purchases, another list of tasks for your renovations, and so on.
To group all of those lists together, you’ll first create at least two of those task lists.
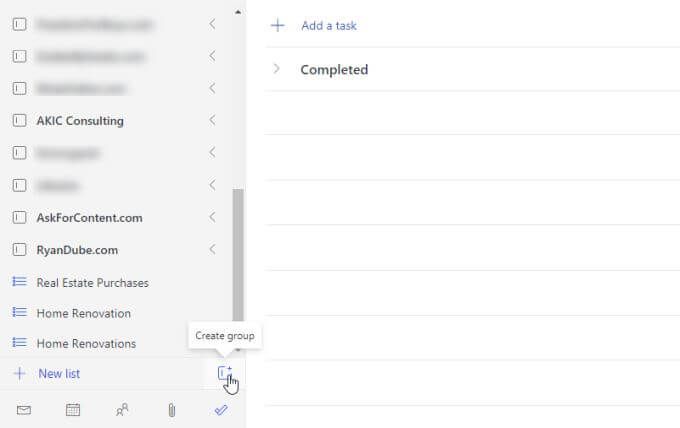
Then, select the small icon with a box and a + to the right of the New list field. This is the Create group icon.

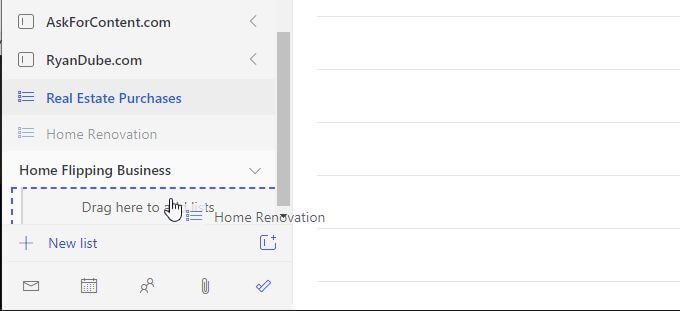
Type the name of the group and press Enter. Then, just click and drag the two task lists you’ve created into the task list group. You’ll know you’ve dragged it far enough when you see a blue dotted box appear inside the group.

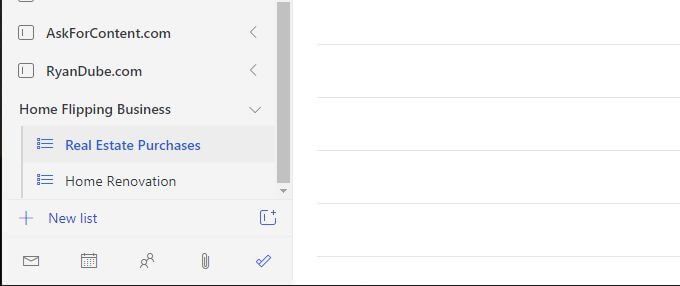
Once you’re done, you’ll see the group with both task lists included under it. You can collapse or open this group any time you like by selecting the arrow to the right of the group name.

Now, any time you add a new task list, just drag it into any of your existing groups to add it to that group.
Groups are not only a great way to organize all your task lists, but it’s also a perfect way to keep your left navigation pane clean. Even if you have hundreds of lists, you can collapse them all into organized groups so your left navigation pane doesn’t get out of control.
Should You Use Microsoft To Do?
There are a lot of apps online today you can use to manage your daily tasks. Some people opt for any of the popular to-do list apps. Other people may take a non-traditional approach by using something like Trello or Evernote to manage their time.
In all honesty, it can take years to try several systems before you find the one that’s a perfect match for you.
Having tested almost every to-do app available, we can confidently say that Microsoft To Do has every important feature you’d need to manage your time as productively and efficiently as possible.