
I recently wrote about troubleshooting Windows 10 freezing issues and in this post I’ll be talking about troubleshooting another fairly common issue, which is disk usage showing 100% all the time. I’ve noticed that this condition is especially true on laptops.
Normally, the disk usage will go up to or close to 100% for a few seconds or even for a couple of minutes, but then should settle down to something more reasonable (usually under 10%). If you consistently see a very high disk usage, it means there is something else going on that isn’t quite right.
To start, you can check your disk usage by opening up the Task Manager in Windows 10. You can either right-click on the Start button and select Task Manager or you can press CTRL + SHIFT + ESC. If you just see a small list of apps, click on More details at the bottom.

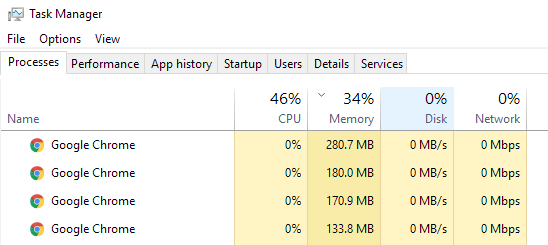
On the main Processes tab, you’ll see a quick overview of the CPU, Memory, Disk and Network utilization. For me, unless I’m doing something on the computer, the disk usage is normally right around 0. In a bad case, you’ll see something like below where disk usage is 100% or very close to it.

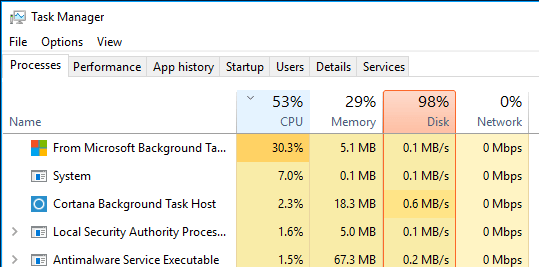
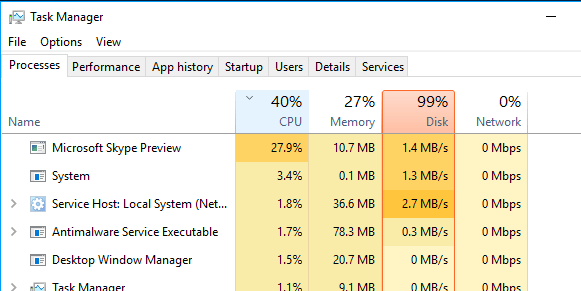
In some cases, you might see just one process that is causing the high disk usage, but in other instances, the process that is causing the spike may change.

Now let’s talk about how we can determine what is causing the issue and then come up with a solution. In some cases, the solution is easy and in others, it’s a bit trickier. Before we get into those, here’s what you shouldn’t do.
Don’t Try These Solutions
On the web, I came across a whole bunch of solutions that just didn’t settle well with me because they can cause more problems later on. Try to avoid doing anything listed below:
- Disabling the BITS service – It’s required by Windows for your PC to be updated and it won’t help disabling it.
- Disabling Windows Search or Superfetch – Again these are core Windows services and you should not disable them.
- Modifying Page File – You should leave it so that Windows manages the page file. Don’t try custom values.
- Disabling Windows Defender – Except for Method 6, don’t disable Defender.
Method 1 – Upgrade Firmware for SSDs
If you have an SSD installed on your machine and are having the disk usage problem, it’s most likely a problem with the firmware. SSDs are fast and unless you have some program that is accessing the disk all the time, it really should never be at 100% for more than a few seconds.


Here are a couple of links to the SSD firmware updates for some of the major brands: Crucial, Samsung, Kingston, Intel, OWC.
Method 2 – Perform a Clean Boot
If you have never performed a clean boot, now is the time to learn. A clean boot basically loads Windows with the fewest drivers and startup programs. A clean boot will help you determine whether the issue is being caused by Windows itself or by a third-party program installed on Windows.

Microsoft has a great article on how to perform a clean boot. I recommend trying it because is usually fixes a lot of other issues too. It’s a bit time-consuming, but totally worth the effort. Just set aside a few hours on a weekend to get it done.
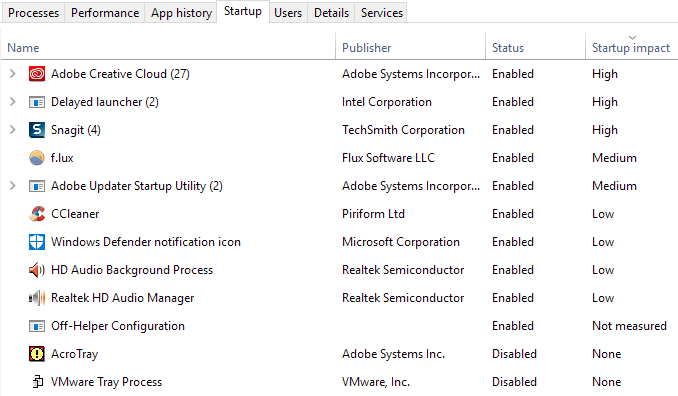
If you find that everything loads fine on a clean boot, then slowly enable each startup program one by one until you determine which program is causing the slowdown. You can then uninstall it or disable it. For starters, always start by disabling any third-party anti-virus/anti-malware program as those programs can have a tendency to access the disk all the time.
In online forums, I’ve heard a lot of people complain that Skype was the cause of the disk usage spike. So try uninstalling Skype and see if that works.
Method 3 – Upgrade Memory (RAM)
Another thing you want to check is to see how much RAM you have installed on your machine. Since Windows 10 can run on older devices, I’ve seen a lot of people install it on old desktops and laptops. This is fine, but you need to make sure the machine has a decent amount of RAM, meaning nothing less than 4 GB.
You can also open Task Manager and click on Performance and then click on Memory.

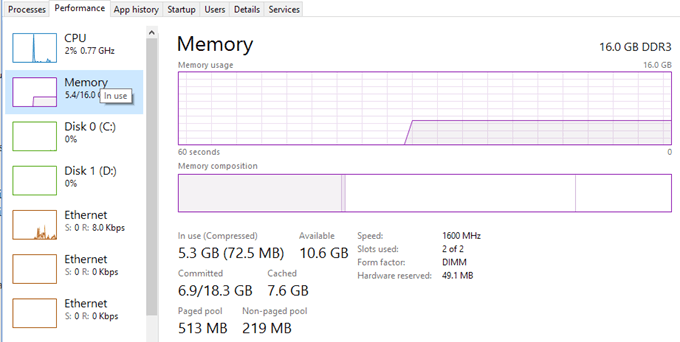
As you can see, I have 16 GB of memory and about 6 GB is in use. This means if you have 4 GB of RAM on your computer, all the memory would be exhausted. Everything that can’t be fit into memory is paged to the hard disk. So basically Windows will use your hard disk as a temporary memory device.
If you have a lot of data that has to be written to disk, it will cause your disk usage to spike and your computer to slow down. If you notice that the line in this graph is close to the top, then it means you probably need to upgrade the RAM on the computer.
Method 4 – Use High Performance Power Plan
With some computers, the hard drives are smart and will try to power down or change RPM to save power. One example is the green/blue Western Digital hard drives. It sounds like a great feature, but I don’t think it really works all the well in practice.

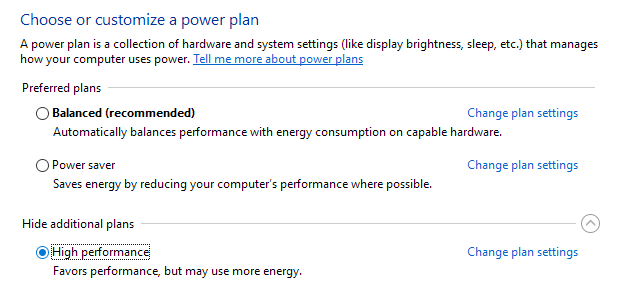
To avoid this problem, go to Power Options and select the High Performance power plan. In addition, click on Change plan settings and then expand Turn off hard disk after and set the minutes to 0.

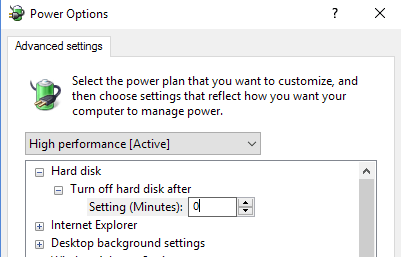
This will ensure that the hard disk does not power down or go into the low power state, which can cause the disk usage problem.
Method 5 – Disable MSI Mode
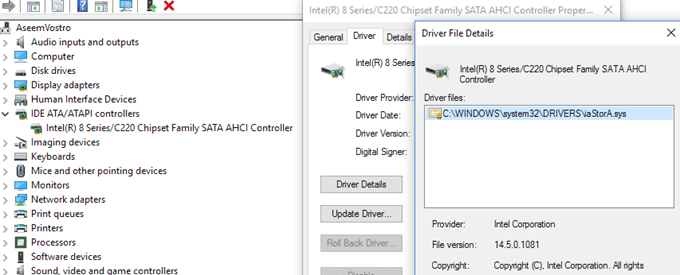
This solution is more obscure and probably won’t help most people, but it’s worth mentioning because Microsoft has specifically stated that this is an issue in Windows 10. Basically, it has something to do with AHCI, which is technical jargon you don’t need to know.
When you have this issue, Disk Usage will show 100%, but when you sort the column, there isn’t any particular program or process that is showing high disk usage. You can read the Microsoft KB article here and attempt the fix.

Method 6 – Disable Windows Defender with 3rd Party AV
By default, Windows Defender should disable itself if you have third-party anti-virus installed on your system. However, in some instances, this does not happen and running two anti-virus programs at the same time can cause excessive disk usages and a bunch of other problems.
To check if Windows Defender is disabled or not, click on Start, then Settings, Update & Security and then Windows Defender. Make sure Real-Time protection and Cloud-based Protection are turned Off.

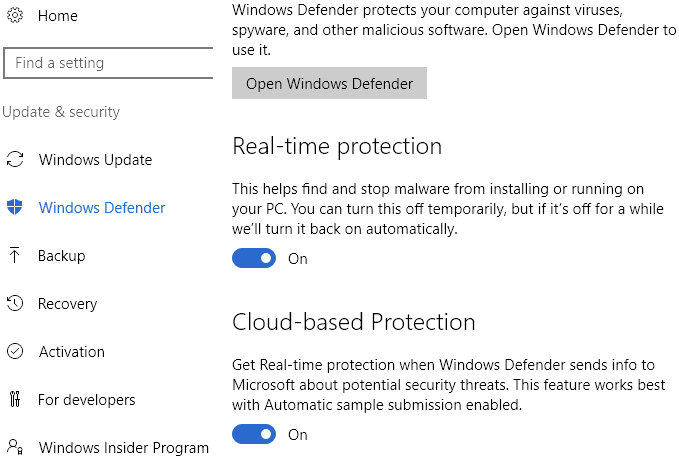
Again, you should ONLY do this if you have third-party anti-virus installed on your system.
Method 7 – Disable Windows Notifications
This solution has been widely distributed on the Internet, but I’m not sure whether it really works or not. I believe it does for certain versions of Windows 10. Anyway, it doesn’t really hurt to disable it, so that’s why I’m going to mention it.
Basically, you disable extra Windows notifications that are basically advertisements. Go to Settings, then click on System, and then Notifications and Actions. Simply turn off the Get tips, tricks, and suggestions as you use Windows.

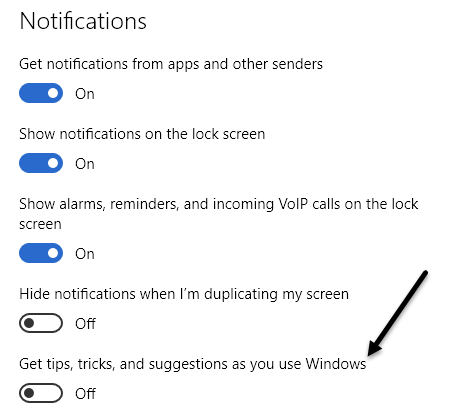
It’s worth noting that all your normal notifications will work just fine, you just won’t see any useless ones from Microsoft.
Method 8 – Check Hard Disk for Errors
If nothing above is working, then you could actually have a problem with your hard drive. There are several ways to check the health of your hard drive, which I’ve written about before.
Check Disk and System Files
Check Hard Drive for Errors
In many instances, repairing errors on the drive fixed the problem. In other instances, replacing the drive was necessary.
Hopefully, one of the above solutions will work for you. One last resort option is to perform a clean install of Windows 10, which will fix the problem for anyone who happens to have malware installed on their systems and maybe don’t know it. If you have any questions, feel free to comment. Enjoy!